

Singer Curvy Sewing Machine Manual: A Comprehensive Guide
Today’s date is 02/17/2026 04:43:14; This manual serves as your partner, ensuring successful operation and maintenance of your Singer Curvy sewing machine.
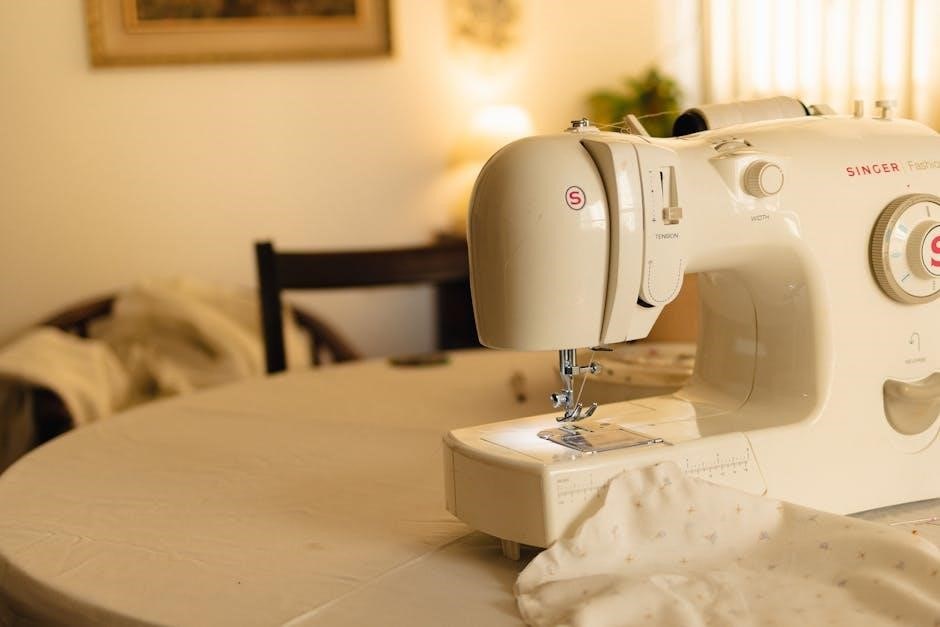
Welcome! This manual introduces you to the Singer Curvy sewing machine, designed as a reliable companion for both beginners and experienced sewists. Activated recently, your machine boasts a blend of modern features and classic Singer dependability. It’s crafted to help you unlock your creative potential, offering a smooth and enjoyable sewing experience.
Consider this guide your comprehensive resource for understanding and utilizing all the benefits your Singer Curvy provides. We prioritize safety, so always review the precautions detailed within. This manual will walk you through setup, threading, basic and advanced techniques, troubleshooting, and essential maintenance. Your success is our goal, and this manual is designed to help you achieve it!
Understanding the Machine’s Features
The Singer Curvy boasts a user-friendly design, incorporating features for diverse sewing projects. It includes a selection of built-in stitches, catering to various fabric types and techniques – from simple straight stitches to decorative zigzag patterns. The machine’s adjustable stitch length and width provide customization for precise results.
Furthermore, the Curvy offers convenient features like a drop-in bobbin system for easy threading and monitoring. Its lightweight construction enhances portability, making it ideal for classes or crafting on the go. This machine is designed to be your reliable partner, offering both simplicity and capability. Explore these features to maximize your sewing experience!
Safety Precautions
Safety First! Always disconnect the power supply before threading, changing the needle, or performing any maintenance on your Singer Curvy. Keep fingers away from moving parts, particularly the needle and presser foot, during operation. Never sew over pins or thick fabric layers, as this can cause needle breakage or machine damage.
Ensure the machine is placed on a stable, level surface during use. Supervise children closely when the machine is powered on. Do not attempt to repair the machine yourself; contact a qualified technician for assistance. Always use the correct needle type for your fabric to prevent injury and ensure optimal performance. Prioritize safety for a pleasant sewing experience.
Setting Up Your Singer Curvy
Initial Setup: Begin by placing your Singer Curvy on a sturdy, flat surface with ample space. Connect the power cord to a grounded outlet. Attach the power foot pedal, ensuring a secure connection. Install the bulb, if not already present, following the manual’s diagram. Next, lift the presser foot and thread the machine – detailed instructions follow in subsequent sections.
Proper setup is crucial for optimal performance. Ensure the bobbin is correctly inserted. Familiarize yourself with the location of all controls – stitch selection, stitch length, and width adjustments. A well-prepared machine guarantees a smooth and enjoyable sewing experience, allowing you to fully utilize its capabilities.
Threading the Machine
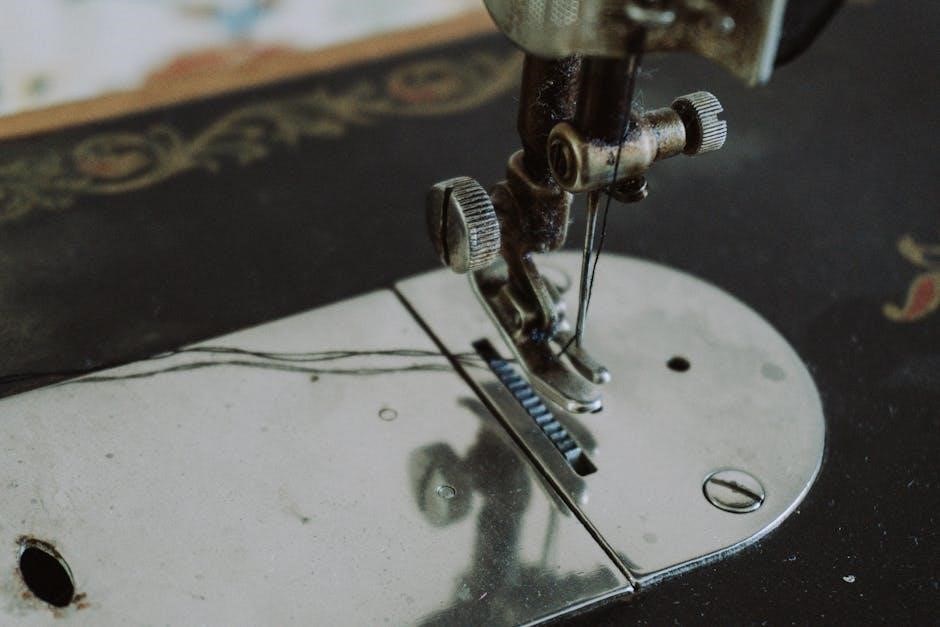
Upper Threading: Begin with the machine turned off. Raise the presser foot. Guide the thread from the spool pin, through the first thread guide, and then down and around the tension disc. Continue threading through the take-up lever, ensuring it’s fully seated. Next, lead the thread down through the second thread guide and finally, through the needle clamp from back to front.
Needle Threading: Thread the needle eye. A needle threader can be helpful! Proper threading is vital for consistent stitch formation. Incorrect threading leads to skipped stitches or tension issues. Always double-check the threading path against the machine’s diagram for accuracy and smooth operation.
Winding the Bobbin

Preparing to Wind: Place the thread spool on the spool pin. Guide the thread through the thread guide for bobbin winding. Then, wind several turns around the bobbin, holding the thread end firmly. Engage the bobbin winding mechanism by pushing the bobbin spindle to the right.
Winding Process: Press the foot pedal gently to start winding. The machine will automatically stop when the bobbin is full. Disengage the bobbin winding mechanism and remove the full bobbin. Ensure even winding for consistent tension. Always use the correct bobbin type for your Singer Curvy to prevent damage or poor stitch quality.
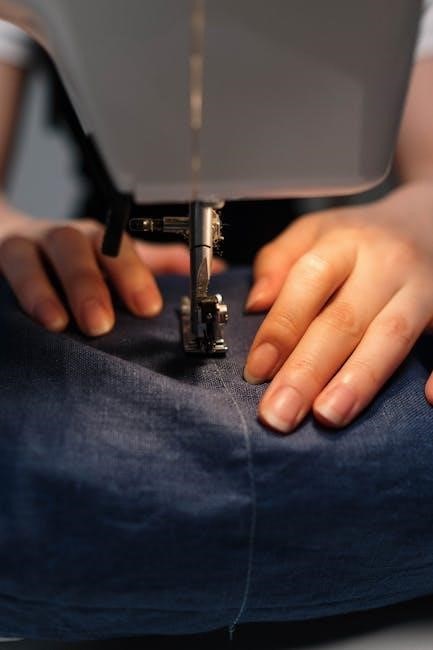
Basic Sewing Techniques
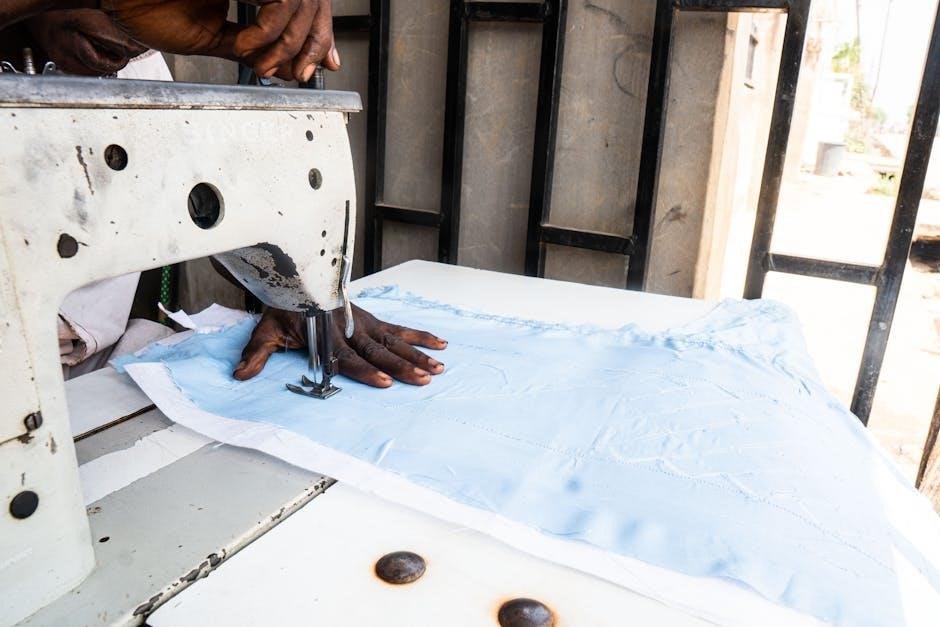
Getting Started: Before beginning, always ensure your machine is correctly threaded and the bobbin is properly inserted. Practice on scrap fabric to familiarize yourself with the machine’s operation. Begin with a simple seam allowance, typically 5/8 inch, using the guide markings on the needle plate.
Consistent Sewing: Maintain a consistent sewing speed and gently guide the fabric. Avoid pulling or pushing the fabric, allowing the feed dogs to do the work. Proper fabric handling is crucial for achieving neat, even stitches. Remember to always lift the presser foot when starting and stopping to prevent thread nesting.
Straight Stitching
The Foundation of Sewing: The straight stitch is the most fundamental stitch, essential for seams, topstitching, and basting. On your Singer Curvy, select the straight stitch setting – typically option ‘0’ on the stitch selector dial; Adjust the stitch length according to your fabric weight; a shorter length for lightweight fabrics and a longer length for heavier materials.
Achieving Precision: Use the edge or center guide markings on the needle plate as a reference to maintain a consistent seam allowance. Practice sewing straight lines on scrap fabric before tackling your project. Consistent pressure on the foot pedal and gentle fabric guidance are key to achieving professional-looking results.
Zigzag Stitching
Versatility in Every Stitch: The zigzag stitch offers incredible versatility, perfect for finishing raw edges, creating decorative effects, and sewing stretch fabrics. On your Singer Curvy, select the zigzag stitch setting using the stitch selector dial. Experiment with different stitch widths and lengths to achieve desired results.
Applications & Adjustments: A narrow zigzag is ideal for preventing fabric fraying, while a wider zigzag provides more stretch for knit fabrics. For decorative stitching, use varied widths and lengths. Practice on scrap fabric to understand how adjustments impact the stitch appearance. Remember to adjust the tension if needed for optimal stitch formation.
Adjusting Stitch Length and Width
Precision Control for Perfect Results: Your Singer Curvy allows precise control over stitch length and width, crucial for adapting to different fabrics and project needs. Locate the stitch length dial – typically marked with numbers indicating millimeters – to adjust the distance between stitches. A shorter length creates a denser, stronger seam, while a longer length is suitable for basting.
Width Variations & Fabric Considerations: The stitch width dial controls the side-to-side deviation of the needle, particularly important for zigzag and decorative stitches. Wider stitches are ideal for stretch fabrics and decorative effects, while narrower widths are best for reinforcing seams. Always test settings on scrap fabric before sewing your project!
Advanced Sewing Techniques
Expanding Your Creative Horizons: The Singer Curvy unlocks a world of advanced techniques beyond basic stitching. Master buttonhole sewing with the machine’s dedicated buttonhole foot and settings, creating professional-looking closures. Conquer zipper insertion, utilizing the zipper foot for close-stitch accuracy and a clean finish.
Unleash Free Motion Potential: Explore free motion sewing by disengaging the feed dogs and using the free motion foot. This allows complete control over fabric movement, perfect for quilting, darning, and artistic embellishments. Practice consistent speed and pressure for beautiful results. Remember to always consult the manual for specific foot and setting recommendations!
Buttonhole Sewing
Creating Professional Closures: The Singer Curvy simplifies buttonhole creation with its dedicated buttonhole foot and pre-programmed settings. Begin by selecting the appropriate buttonhole style – choose from various widths and lengths to match your buttons. Attach the buttonhole foot, ensuring it clicks securely into place.
Step-by-Step Precision: Follow the markings on the needle plate as a guide, carefully lowering and raising the presser foot as indicated. The machine automatically stitches around the buttonhole shape. Once complete, carefully cut open the buttonhole without damaging the stitches. Practice on scrap fabric to perfect your technique and achieve consistently neat results!
Zipper Insertion
Achieving a Flawless Finish: Inserting zippers with the Singer Curvy is streamlined using the zipper foot, which allows for close stitching along the zipper teeth. Begin by pinning the zipper tape to your fabric, right sides together, matching the zipper length to the desired opening. Select a straight stitch and adjust the stitch length for optimal hold.
Guided Stitching: Attach the zipper foot and carefully stitch along the zipper tape, keeping the teeth aligned. Repeat on the opposite side. For a concealed zipper, consider using a concealed zipper foot for professional-looking results. Practice on scrap fabric to master the technique and ensure a smooth, even zipper insertion.
Free Motion Sewing
Unleash Your Creativity: The Singer Curvy enables free motion sewing, opening doors to quilting, darning, and decorative stitching. Disengage the feed dogs by lowering the feed dog lever – this allows you to move the fabric freely under the needle. Attach a darning foot, designed for unobstructed movement.
Controlled Movement: Lower the presser foot and set the stitch length to zero. Gently guide the fabric with both hands, creating desired designs. Consistent speed and even pressure are key to achieving smooth lines. Practice on scrap fabric to develop control and explore various free motion techniques, enhancing your sewing projects.
Troubleshooting Common Issues
Addressing Sewing Challenges: Even with careful operation, occasional issues may arise. Needle breakage often stems from incorrect needle size, bent needles, or forcing the fabric. Always use the correct needle for your fabric type. Thread bunching typically indicates improper threading, incorrect tension, or a poorly wound bobbin – re-thread and adjust tension accordingly.
Resolving Machine Jams: If your machine jams, immediately stop and unplug it. Gently remove the fabric and check for tangled threads around the bobbin area. Never force the mechanism. Consult the manual for detailed diagrams and solutions to these, and other, common sewing machine problems, ensuring smooth operation.
Needle Breakage
Understanding and Preventing Breaks: Frequent needle breakage is a common frustration, but often preventable. The primary causes include using the wrong needle type or size for the fabric weight. Delicate fabrics require finer needles, while heavier materials need stronger ones. Bent or damaged needles must be replaced immediately, as they are prone to snapping.
Technique Matters: Avoid forcing the fabric through the machine; let the feed dogs do the work. Ensure the needle is correctly inserted and tightened. Incorrect threading can also contribute to breakage. Always use high-quality needles and inspect them before each use. Following these guidelines will minimize interruptions and ensure smooth sewing.
Thread Bunching
Identifying and Resolving the Issue: Thread bunching typically occurs underneath the fabric, creating a tangled mess. This often signals a problem with the upper threading – ensure the thread is correctly seated in the tension disc and guides. A poorly wound bobbin, or incorrect bobbin insertion, is another frequent culprit.
Tension Adjustments: Check the upper thread tension; if it’s too tight, it can cause bunching. Conversely, if it’s too loose, the bobbin thread may pull excessively. Re-thread both the upper and bobbin threads, ensuring proper path and tension. Regularly cleaning the bobbin case can also prevent lint buildup that contributes to this issue, restoring smooth operation.
Machine Jamming
Addressing Seized Mechanisms: Machine jamming halts operation, often due to fabric accumulation around the needle or bobbin area. Immediately stop the machine and disconnect the power. Gently remove the jammed fabric, avoiding forceful pulling which could damage components. Inspect the bobbin case for tangled threads or lint buildup – a common cause of jams.
Preventative Measures: Ensure correct threading and proper fabric handling. Avoid sewing over thick seams or multiple layers without adjusting stitch length. Regularly clean the machine, especially the bobbin area, to prevent lint accumulation. Using the correct needle type for your fabric weight is crucial; a dull or incorrect needle increases jamming risk, ensuring smooth sewing.
Maintenance and Care
Preserving Performance: Regular maintenance ensures your Singer Curvy’s longevity and optimal performance. Cleaning is paramount; remove lint and dust from all areas, especially the bobbin case and feed dogs, after each use. A soft brush is ideal, avoiding compressed air which can push debris deeper.
Lubrication & Inspection: Periodically oil key lubrication points as indicated in the manual – typically the motor and bobbin hook. Use sewing machine oil only! Inspect the needle, replacing it when dull or bent. Check the foot pedal cord for damage. Consistent care prevents issues and keeps your machine running smoothly for years, maximizing your sewing enjoyment.
Cleaning the Machine
Essential Routine: Regularly cleaning your Singer Curvy is vital for smooth operation. Begin by disconnecting the power! Use a soft brush to remove lint and thread scraps from the bobbin area, feed dogs, and around the needle plate. A lint brush is particularly effective.
Detailed Cleaning: For deeper cleaning, a small vacuum attachment can carefully remove debris. Avoid using compressed air, as it can push dust into sensitive components. Wipe down the exterior with a damp cloth. Never use harsh chemicals or solvents. Consistent cleaning prevents jams, ensures stitch quality, and extends the life of your machine, keeping it a reliable partner in your sewing projects.
Oiling the Machine
Maintaining Smoothness: Proper oiling ensures your Singer Curvy operates quietly and efficiently. Locate the oiling points – typically indicated in your machine’s diagram – and apply only Singer sewing machine oil. Avoid over-oiling, as excess oil attracts lint.
Strategic Application: Focus on the bobbin race, hook, and any moving parts identified in the manual. A few drops are sufficient; use the oil applicator for precision. After oiling, operate the machine slowly for a few minutes to distribute the oil evenly. Regular oiling prevents friction, reduces wear and tear, and maintains optimal performance, guaranteeing years of reliable sewing enjoyment.
Replacing Parts
Ensuring Longevity: Over time, certain Singer Curvy components may require replacement due to wear and tear. Always disconnect the power before attempting any repairs. Refer to your machine’s parts diagram to identify the correct replacement part number.
Sourcing Replacements: Obtain genuine Singer replacement parts from authorized dealers or the Singer website to guarantee compatibility and quality. Carefully follow the instructions in the manual for removing and installing the new part. If unsure, consult a qualified sewing machine technician. Proper part replacement restores functionality and extends the life of your Singer Curvy, maintaining its sewing prowess.
Resources and Support
Extensive Help Available: Singer provides a wealth of resources to support your sewing journey with the Curvy machine. The official Singer Website offers a comprehensive FAQ section addressing common queries and troubleshooting tips. You can also download digital copies of your manual and access helpful video tutorials.
Community & Parts: For Finding Replacement Parts, the Singer website is the primary source, ensuring compatibility. Beyond that, vibrant Online Sewing Communities offer a platform to connect with fellow enthusiasts, share experiences, and seek advice. These forums are invaluable for learning new techniques and resolving issues collaboratively. Singer is dedicated to your success!
Singer Website and FAQs
Your Online Hub: The official Singer Website is your primary destination for all things Curvy! It’s packed with resources designed to enhance your sewing experience. You’ll find downloadable manuals, helpful tips, and a dedicated support section. Explore the site to unlock the full potential of your machine.
Quick Answers: The extensive FAQ section addresses frequently asked questions, covering everything from basic operation to troubleshooting common issues. This is a great first stop before seeking further assistance. Singer’s commitment to customer support ensures you have access to the information you need, when you need it, for seamless sewing.
Finding Replacement Parts
Maintaining Your Machine: Ensuring the longevity of your Singer Curvy relies on access to genuine replacement parts. The official Singer Website offers a comprehensive parts catalog, allowing you to easily locate and purchase components directly. Input your machine’s model number for accurate results.
Authorized Dealers: Alternatively, authorized Singer dealers nationwide stock a wide range of parts. They can provide expert advice and assistance in selecting the correct components for your specific needs. Always use genuine Singer parts to maintain performance and warranty validity. Avoid third-party sellers to guarantee quality and compatibility.
Online Sewing Communities
Connect and Learn: Numerous online sewing communities offer invaluable support and resources for Singer Curvy owners. These platforms provide a space to ask questions, share projects, and troubleshoot issues with fellow enthusiasts. Facebook groups dedicated to Singer sewing machines are particularly active and helpful.
Forums and Websites: Explore dedicated sewing forums and websites where experienced users share tips, tutorials, and advice specific to the Curvy model. These communities often feature detailed discussions on maintenance, repairs, and advanced techniques. Remember to verify information and prioritize advice from trusted sources within these online spaces.