
Brother LS-2125i Sewing Machine: A Comprehensive Manual
This detailed guide empowers users to quickly master their Brother LS-2125i, offering simplified setup instructions and clear diagrams for optimal performance and enjoyment.
Welcome to the world of sewing with the Brother LS-2125i! This machine is renowned for its reliability and user-friendly design, making it an excellent choice for both beginners and experienced sewists. This comprehensive manual is designed to guide you through every aspect of operating your new sewing machine, from initial setup to mastering advanced techniques.
The Brother LS-2125i is a versatile machine capable of handling a wide range of sewing projects, from simple alterations to creating beautiful garments and home décor items. We understand that threading a sewing machine can seem daunting, especially for those new to sewing. Therefore, this manual provides step-by-step instructions, accompanied by clear illustrations, to ensure a smooth and frustration-free threading experience.
Throughout this guide, we’ll cover essential topics like safety guidelines, machine controls, stitch selection, and routine maintenance. Get ready to unlock the full potential of your Brother LS-2125i and embark on a rewarding sewing journey!
Key Features and Specifications
The Brother LS-2125i boasts a range of features designed for ease of use and versatility. It includes 15 built-in stitches, offering options for various sewing applications, from basic straight stitching to decorative zigzag patterns. The machine features an automatic needle threader, simplifying a traditionally tedious task and saving valuable time.
Key Specifications: It operates on standard household electrical power and includes adjustable stitch length and width controls, allowing for customization based on fabric type and project requirements. The free arm design facilitates sewing cuffs, sleeves, and other cylindrical shapes with ease. A drop-in bobbin system ensures quick and convenient bobbin changes.
Furthermore, the LS-2125i is constructed with a durable frame, ensuring long-lasting performance. Its lightweight design makes it easily portable, ideal for sewing classes or taking projects on the go. This machine truly delivers reliable performance for all your sewing needs.

Setting Up Your Machine
Prepare for seamless sewing! This section guides you through unboxing, connecting the foot pedal, and understanding the machine’s fundamental operational controls.
Unboxing and Initial Inspection
Carefully unpack your new Brother LS-2125i sewing machine, ensuring all components are present. The box should contain the sewing machine itself, the power cord, the foot pedal, a set of needles, bobbins, a screwdriver, and this comprehensive manual.
Inspect the machine for any visible damage that may have occurred during shipping. Check for dents, scratches, or loose parts. Verify the presence of all accessories listed in the included parts diagram.

Retain the original packaging for potential future transport or warranty claims. Before proceeding, familiarize yourself with the machine’s exterior features, including the handwheel, stitch selector dial, and bobbin winder. A thorough initial inspection will ensure a smooth and enjoyable sewing experience from the start.
Powering On and Basic Controls
To power on your Brother LS-2125i, connect the power cord securely to the machine and a grounded electrical outlet. Ensure the power switch, typically located on the side of the machine, is in the “Off” position before plugging it in. Then, flip the switch to “On”.
Familiarize yourself with the basic controls. The foot pedal controls the sewing speed – gentle pressure for slow sewing, increased pressure for faster sewing. The handwheel allows for manual control of the needle position. The stitch selector dial lets you choose from various stitch patterns.
Practice using the foot pedal to get a feel for its responsiveness. Begin with slow, controlled movements. The power indicator light will illuminate when the machine is on and ready for use. Always disconnect the power cord when not in use or performing maintenance.
Attaching the Foot Pedal
Connecting the foot pedal to your Brother LS-2125i is a straightforward process. Locate the foot pedal jack on the machine, usually found on the side or back panel. The foot pedal cord has a corresponding plug. Gently insert the plug into the jack, ensuring it clicks securely into place.
Avoid forcing the plug, as this could damage the jack or the cord. Once connected, test the foot pedal by gently pressing down. The needle should begin to move. If it doesn’t, double-check the connection and ensure the machine is powered on.
Proper foot pedal connection is crucial for controlling sewing speed. A secure connection ensures consistent operation. Always use the original Brother foot pedal provided with your machine for optimal performance and safety.

Threading the Machine
Mastering the threading process is key to successful sewing with your Brother LS-2125i; this section details both bobbin winding and upper/lower thread guidance.
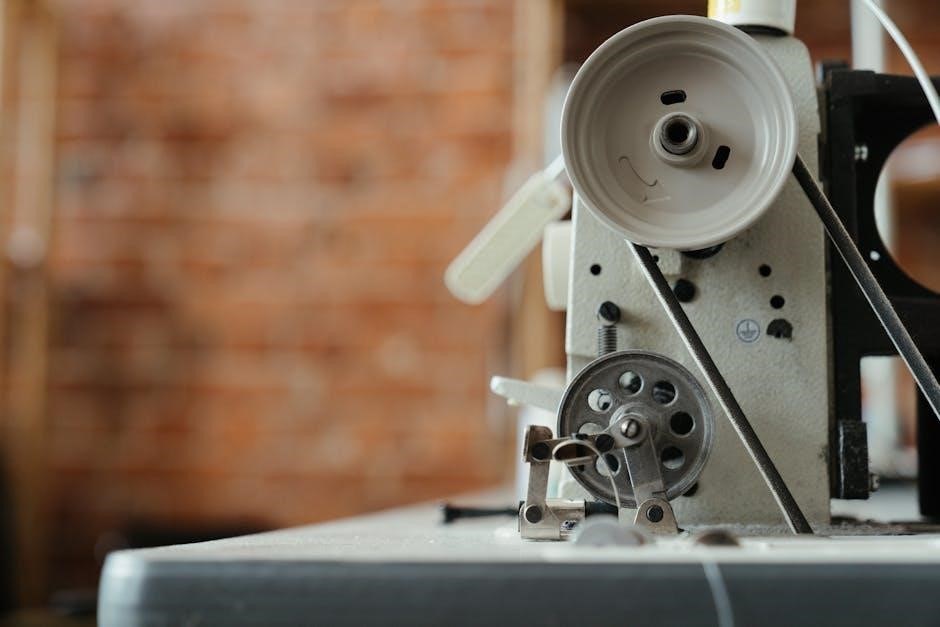
Bobbin Winding Procedure
Preparing the bobbin is the first step towards successful sewing. Begin by placing the spool of thread onto the spool pin, ensuring it’s securely positioned. Next, guide the thread through the thread guide, then around the tension disc – this ensures even winding.
Thread the end of the thread through the central hole of the bobbin, and then place the bobbin onto the bobbin winder spindle. Push the bobbin winder spindle to the right, engaging it.
Hold the thread tail gently as you depress the foot pedal, initiating the winding process. Allow several rotations to occur, then trim the thread close to the bobbin. Continue winding until the bobbin is full, and the machine automatically stops. Carefully remove the bobbin and thread tail, ready for use.
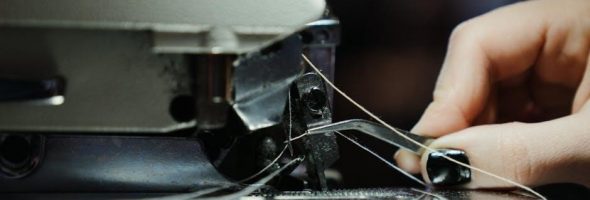
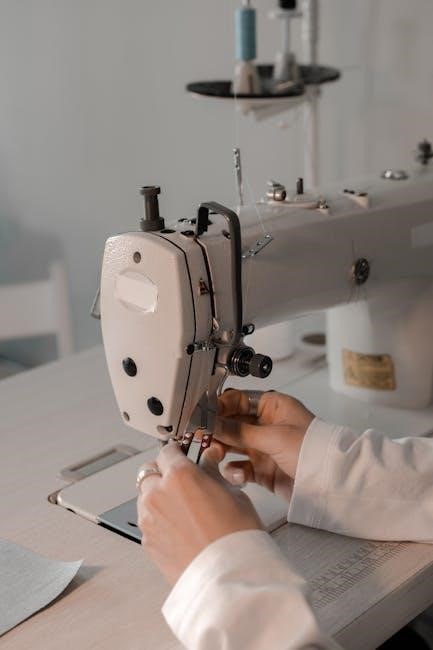
Upper Threading Guide – Step-by-Step
Correct upper threading is crucial for consistent stitch formation. Begin by raising the presser foot; this opens the tension discs. Place your spool of thread on the spool pin. Guide the thread down through the first thread guide, then around the tension discs, ensuring it seats properly within them.
Continue threading upwards through the take-up lever, and then down through the second thread guide. Next, thread the needle from front to back. A needle threader can be helpful for easier insertion.
Finally, pull several inches of thread through the needle eye. Double-check that the thread is correctly seated in all guides and the tension discs before beginning to sew, ensuring smooth operation.
Lower Threading Guide – Step-by-Step
Proper bobbin threading is essential for a balanced stitch. First, locate the bobbin case on the underside of the machine. Remove the bobbin case by gently pressing and pulling it out. Insert the bobbin into the bobbin case, ensuring it rotates in the correct direction – typically counter-clockwise, as indicated by the arrows on the case.
Draw the thread through the tension spring of the bobbin case, then guide it through the slit. Reinsert the bobbin case back into the machine until it clicks into place. Finally, draw up the bobbin thread by holding the upper thread and gently turning the handwheel towards you.
Basic Sewing Techniques
Master fundamental skills with the LS-2125i, exploring stitch selection, length/width adjustments, and practicing straight and zigzag stitches for versatile project creation.
Selecting Stitch Patterns
The Brother LS-2125i offers a variety of stitch patterns, catering to diverse sewing needs. To select a stitch, locate the stitch selection dial, typically positioned on the front of the machine. This dial features a chart illustrating available stitches – straight stitch, zigzag stitch, and several decorative options.
Rotate the dial until the desired stitch number or symbol aligns with the indicator mark. For basic seams, the straight stitch (often number 1) is ideal. Zigzag stitches are excellent for finishing raw edges, creating stretch seams, or decorative applications. Experiment with different stitch widths and lengths to achieve varied effects.
Refer to the stitch chart in your machine’s manual for detailed descriptions of each stitch and its recommended uses. Understanding these options unlocks the full creative potential of your LS-2125i, allowing you to tackle a wide range of sewing projects with confidence and precision.
Adjusting Stitch Length and Width
Precise control over stitch length and width is crucial for achieving professional-looking results with your Brother LS-2125i. The stitch length dial, usually marked with measurements in millimeters, determines the distance between each stitch. Shorter stitch lengths are ideal for delicate fabrics and intricate details, while longer lengths are suitable for heavier materials and quicker sewing.
The stitch width dial controls the side-to-side deviation of the needle, primarily affecting zigzag stitches. Increasing the width creates a broader zigzag, useful for securing edges or decorative stitching. Adjustments are made by rotating the respective dials to the desired setting.
Always test your chosen settings on a scrap fabric before starting your project to ensure optimal stitch formation and prevent puckering or fabric damage. Experimentation is key to mastering these controls!
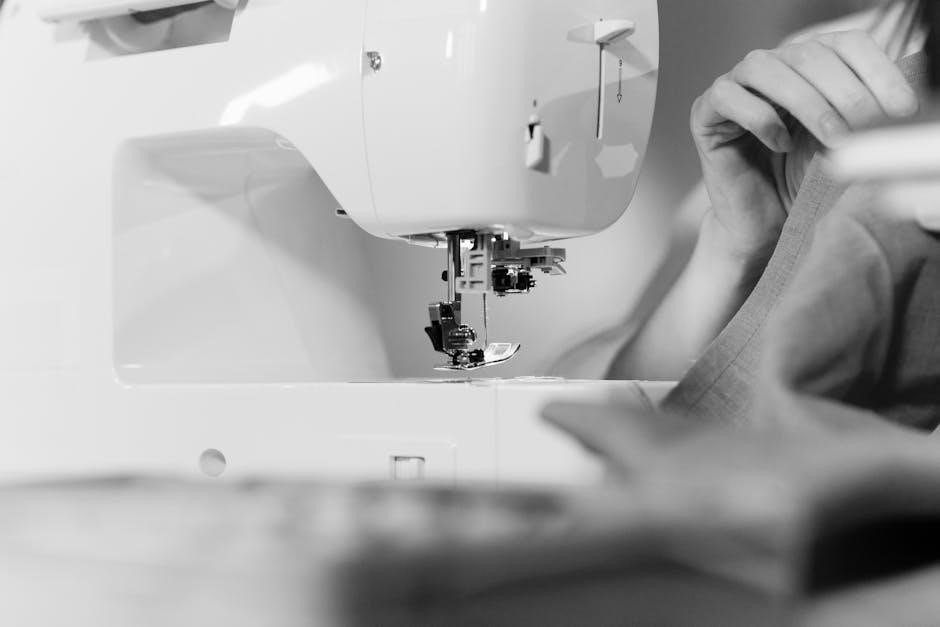
Straight Stitching Practice
Mastering the straight stitch is fundamental to successful sewing with your Brother LS-2125i. Begin by selecting the straight stitch pattern (usually number 1 or 0) on the stitch selection dial. Use a medium stitch length – around 2.5mm is a good starting point – for general practice.
Place a piece of scrap fabric under the presser foot, gently lower the foot, and begin sewing slowly and steadily. Focus on maintaining a consistent seam allowance, guiding the fabric gently and avoiding pushing or pulling.
Practice sewing straight lines, curves, and corners. Observe the stitch formation and adjust your speed and guiding technique as needed. Consistent practice builds muscle memory and improves accuracy.
Zigzag Stitching Applications
The zigzag stitch on your Brother LS-2125i is incredibly versatile, extending beyond simple seam finishing. Experiment with varying stitch widths and lengths to achieve different effects. A narrow zigzag (width 1-2, length 2.5) is ideal for finishing raw edges, preventing fabric fraying and creating a professional look.
Wider zigzags (width 4-5, length 2.5-3) are excellent for stretch fabrics, allowing the seam to stretch with the material. You can also use a zigzag for decorative stitching, creating unique patterns on your projects.
Practice applying zigzag stitches to knit fabrics, woven fabrics, and even for creating buttonholes (with appropriate accessories). Explore the creative possibilities!

Maintenance and Troubleshooting
Regular cleaning and proper lubrication are crucial for maintaining peak performance, alongside addressing common issues like threading problems efficiently and effectively.
Cleaning the Machine
Maintaining a clean sewing machine is paramount for smooth operation and longevity. Dust, lint, and stray threads accumulate during use, hindering performance and potentially causing damage. Begin by disconnecting the power supply before any cleaning procedure. Use a soft brush – often included with the machine – to gently remove lint from the bobbin area, feed dogs, and around the needle plate.
A small vacuum cleaner with a brush attachment can also be effective, but avoid using compressed air, as it can blow debris into sensitive areas. Wipe down the exterior surfaces with a slightly damp cloth. For stubborn grime, a mild detergent solution can be used, ensuring the cloth is wrung out thoroughly to prevent moisture from entering the machine’s internal components. Never use abrasive cleaners or solvents. Regular cleaning, ideally after each use, will keep your Brother LS-2125i running flawlessly for years to come.
Oil Points and Lubrication
Proper lubrication is crucial for the smooth functioning of your Brother LS-2125i. While this machine is designed to be relatively maintenance-free, periodic oiling of specific points ensures optimal performance and prevents wear and tear. Refer to your machine’s diagram to identify designated oiling points – typically located around the bobbin area, hook mechanism, and presser foot bar.
Use only sewing machine oil; never substitute with other lubricants like WD-40, as these can damage internal components. Apply a small drop of oil to each point, and then operate the machine briefly to distribute the oil evenly. Avoid over-oiling, as excess oil can attract dust and lint. Regular oiling, perhaps every six months with moderate use, will significantly extend the life of your sewing machine and maintain its precision.
Common Problems and Solutions
Encountering issues with your Brother LS-2125i is common, but often easily resolved. A frequent problem is thread bunching, usually caused by improper threading or incorrect tension settings – re-thread both the upper and lower threads, and adjust the tension dial. Skipped stitches often indicate a dull or incorrect needle; replace it with a new, appropriate needle for your fabric type.
If the machine is making unusual noises, check for lint buildup around the bobbin area and clean thoroughly. Always unplug the machine before cleaning! For more complex issues, consult the full manual or online resources. Remember to systematically troubleshoot, checking the basics first before considering more advanced repairs.
Troubleshooting Threading Issues
Threading difficulties are common for beginners with the Brother LS-2125i, but easily overcome with patience. If the upper thread breaks repeatedly, ensure it’s properly seated in the tension discs and that the thread path is clear of obstructions. A poorly wound bobbin can also cause issues; rewind it evenly and securely.
If the lower thread nests, double-check that the bobbin is inserted correctly and that the thread is flowing smoothly. Always re-thread both upper and lower threads when experiencing problems. Refer to the threading diagrams in this manual for precise guidance. Consistent practice and careful attention to detail will quickly build confidence and prevent future threading frustrations.
Advanced Features & Accessories
Explore expanded creative possibilities with optional presser feet and a deeper understanding of the reverse stitch function on your LS-2125i machine.
Using Optional Presser Feet
The Brother LS-2125i’s versatility expands significantly with the use of optional presser feet, unlocking a wider range of sewing applications. A zipper foot, for example, allows for precise stitching close to zipper teeth, creating professional-looking results. Buttonhole feet simplify the creation of consistent and neatly finished buttonholes, saving time and effort.
Furthermore, a blind hem foot enables invisible hemming, ideal for delicate fabrics and garments requiring a subtle finish. Quilters will benefit from a walking foot, which evenly feeds multiple layers of fabric, preventing shifting and puckering. Always consult the presser foot’s specific instructions for proper attachment and usage. Experimenting with different feet will dramatically enhance your sewing projects and allow you to tackle more complex designs with confidence. Remember to always use the correct presser foot for the task at hand to achieve optimal results and prevent damage to your machine or fabric.
Understanding the Reverse Stitch Function
The reverse stitch function on your Brother LS-2125i is crucial for securing seams at the beginning and end of a stitching line, preventing unraveling and ensuring durability. Activated by the reverse lever or button (typically located near the handwheel), this feature temporarily reverses the stitch direction.
It’s essential to use short reverse stitches – typically 2-3 stitches – to avoid bulkiness and maintain a clean finish. Overusing the reverse stitch can create a stiff and noticeable area. This function is also valuable for reinforcing stress points in garments, like pockets or belt loops. Practice using the reverse stitch on scrap fabric to become comfortable with its operation and achieve consistent results. Mastering this simple technique significantly improves the longevity and quality of your sewing projects, providing a professional and polished appearance.