

Goulds Water Pump Repair Manual: A Comprehensive Guide
This manual consolidates vital resources, including performance specifications, API-610 standards (like the 3700 series), and pulp pump details for effective troubleshooting.
Access diagrams and guides for models 3175 and 3410, alongside safety guidelines for electrical components, ensuring reliable Goulds pump operation and maintenance.
Understanding Goulds Pump Models
Goulds Pumps offers a diverse range of models, each engineered for specific applications, from residential water systems to heavy-duty industrial processes. Recognizing the nuances of each series – such as the API-610 compliant 3700 series – is crucial for accurate diagnosis and repair.
The 3175 series, frequently utilized in water supply, demands a different approach than pulp pumps designed for abrasive materials. Understanding these distinctions impacts component selection and repair procedures.
Model 3410, alongside others, requires referencing specific documentation for performance characteristics and recommended maintenance schedules.
Effective repair necessitates identifying whether the pump is a centrifugal, submersible, or jet pump, as internal components and troubleshooting steps vary significantly. Familiarity with pump curves and performance specifications, often found in associated manuals, is also essential for verifying proper operation post-repair.
Always prioritize consulting the correct manual for your specific Goulds pump model before commencing any repair work.
Identifying Your Specific Goulds Pump
Accurate identification is the first step towards successful Goulds pump repair. Locate the pump’s nameplate, typically affixed to the pump housing. This plate contains critical information, including the model number (e.g., 3700, 3175, 3410) and serial number.
Record this information meticulously, as it dictates which repair manual and parts diagrams are applicable. Without the correct model number, you risk using incompatible components or following incorrect procedures.
If the nameplate is damaged or missing, carefully examine the pump’s physical characteristics – size, shape, inlet/outlet configurations – and compare them to available online resources or catalogs.
Consider the pump’s application; a pump used for pulp handling will have different features than a standard water supply pump.
Utilize online resources and parts diagrams (like those available through user manuals) to visually confirm the model. Proper identification ensures you have the correct documentation for a safe and effective repair.
Safety Precautions Before Repair
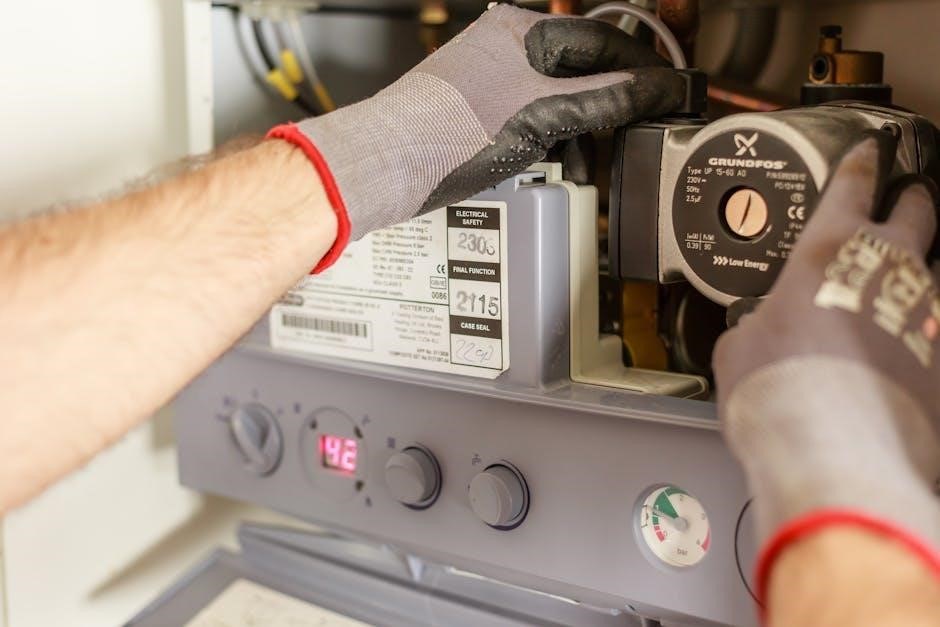
Prioritize safety before commencing any Goulds pump repair. Always disconnect the pump from its power source – this includes switching off the circuit breaker and verifying power is off with a tester. Never work on an energized pump.
Relieve all pressure within the pump and piping system before disassembly. This prevents unexpected fluid discharge and potential injury. Wear appropriate personal protective equipment (PPE), including safety glasses, gloves, and sturdy footwear.
Be mindful of hot surfaces, especially after the pump has been running. Allow sufficient cooling time before handling components. Handle electrical components with extreme care, following all relevant electrical safety guidelines.
Work in a well-ventilated area, especially when dealing with solvents or cleaning agents. Consult the pump’s manual for specific safety warnings related to your model. Ignoring these precautions can lead to serious injury or damage.

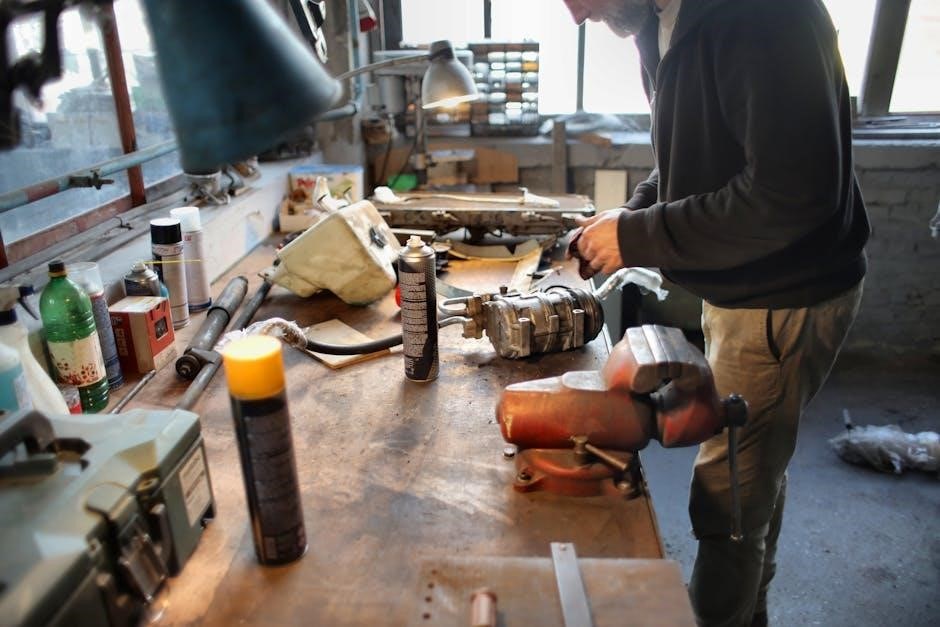
Tools Required for Goulds Pump Repair
Successful Goulds pump repair necessitates a well-equipped toolkit. Essential hand tools include a socket set, wrenches (various sizes, including pipe wrenches), screwdrivers (Phillips and flathead), pliers, and Allen wrenches; Specialized tools often required are a bearing puller, seal installer, and impeller key puller.
For electrical work, a multimeter is crucial for testing windings and capacitors. Consider a capacitance meter for accurate capacitor assessment. A voltage tester is vital for confirming power disconnection. Torque wrenches are necessary for precise tightening of fasteners, preventing damage.
Additional helpful tools include a rubber mallet, penetrating oil, cleaning solvents, and a shop vacuum. Safety equipment like safety glasses and gloves are non-negotiable. Having the correct tools streamlines the repair process and minimizes the risk of damage.

Common Goulds Pump Problems & Solutions
Diagnose issues like loss of prime, low pressure, overheating, or no output. Effective solutions require understanding pump specifics and utilizing repair guides.
Loss of Prime Troubleshooting
Loss of prime is a frequent issue with Goulds pumps, often stemming from air leaks within the suction line or pump casing. Begin by thoroughly inspecting all suction pipe connections, ensuring they are airtight and properly sealed. Check for cracked or damaged pipes, and replace them as needed.
Next, examine the pump’s foot valve, which prevents water from draining back into the well. A faulty foot valve will allow air to enter, causing prime loss. Inspect and clean or replace the foot valve if necessary. Ensure the pump strainer is clear of debris, as obstructions can restrict water flow and contribute to priming problems.
Furthermore, verify the pump’s internal seals are intact. Worn or damaged seals can introduce air into the system. If the pump continues to lose prime after addressing these areas, consider a more in-depth inspection of the impeller and diffuser for wear or damage. Proper priming procedures, as outlined in the specific pump model’s manual, are also crucial.
Low Water Pressure Diagnosis
Diagnosing low water pressure in a Goulds pump requires a systematic approach. Start by verifying the power supply to the pump, ensuring it’s receiving adequate voltage. Check the pressure switch, confirming it’s functioning correctly and set to the appropriate pressure range. A failing pressure switch may not activate the pump when needed.
Inspect the pump’s impeller and diffuser for wear or blockage. A worn impeller reduces pumping capacity, while obstructions restrict water flow. Examine the discharge pipe for kinks, restrictions, or closed valves. Ensure the foot valve is functioning properly, preventing water from draining back into the well.
Consider the well’s water level; a significantly lowered water table can reduce pump intake. If the problem persists, assess the pump’s internal seals for leaks, which can diminish pressure. Consult the specific model’s manual for detailed troubleshooting steps and recommended pressure settings.
Pump Motor Overheating Issues
Pump motor overheating is a serious concern demanding immediate attention. Begin by checking for adequate ventilation around the motor; obstructions restrict airflow, causing heat buildup. Verify proper voltage supply – low voltage forces the motor to work harder, generating excess heat. Inspect the motor windings for insulation damage using appropriate testing procedures.
A failing capacitor can cause the motor to run inefficiently and overheat. Examine the motor bearings for wear or lack of lubrication; friction increases temperature. Ensure the pump isn’t operating against a closed valve or significant restriction, as this strains the motor. Check for proper impeller balance; imbalance creates vibration and heat.
If overheating continues, consult the Goulds pump’s specific manual for detailed troubleshooting and potential motor replacement guidelines. Prioritize safety – disconnect power before any inspection or repair work.
No Water Output: Causes and Fixes
Complete lack of water output signals a critical issue requiring systematic diagnosis. First, confirm power supply to the pump; a tripped breaker or blown fuse is a common culprit. Check for a loss of prime – the pump needs to be filled with liquid to operate effectively. Inspect the suction line for leaks or blockages preventing water from reaching the pump.
A clogged impeller restricts water flow; disassemble and clean the impeller housing. Examine the pump seals for wear or damage, leading to pressure loss. Verify the discharge valve is open; a closed valve prevents water delivery. Look for obstructions in the discharge pipe, such as debris or frozen water.
Consult the relevant Goulds pump model manual for specific troubleshooting steps. Always disconnect power before performing any repairs or inspections to ensure safety.
Goulds Pump Component Repair
Detailed procedures cover impeller inspection, diffuser fixes, and seal replacements. Bearing replacement guidance ensures optimal pump performance and longevity, restoring functionality effectively.
Impeller Inspection and Replacement
Begin by disconnecting power and draining the pump casing, adhering to all safety precautions. Carefully remove the impeller, noting its orientation and any wear patterns. Thoroughly inspect the impeller for cracks, erosion, or cavitation damage – these indicate potential performance issues and necessitate replacement.
Compare the impeller to a new unit; significant wear warrants a replacement to maintain pump efficiency. Before installing a new impeller, clean the pump shaft and housing thoroughly. Ensure proper alignment during installation, utilizing appropriate tools to avoid damage. Tighten all fasteners to the manufacturer’s specified torque.
After installation, verify the impeller rotates freely without binding. A damaged or improperly installed impeller can lead to reduced flow rates, increased energy consumption, and premature pump failure. Regular impeller inspection is crucial for preventative maintenance and extending the pump’s lifespan.
Diffuser Repair or Replacement
After safely isolating the pump, disassemble to access the diffuser. Inspect the diffuser for wear, corrosion, or blockage, as these compromise pump performance. Look closely for cracks or erosion, particularly around the vanes, which significantly impact flow. Minor damage might be repairable with specialized epoxy, but severe damage necessitates replacement.
When replacing the diffuser, ensure the new component is the correct model for your Goulds pump. Carefully align and seat the diffuser within the pump housing, following the manufacturer’s instructions. Secure it with the appropriate fasteners, tightened to the specified torque to prevent leaks or misalignment.
A faulty diffuser reduces pump efficiency and can cause vibration. Regular inspection during maintenance helps identify issues early. Proper diffuser function is vital for converting velocity energy into pressure, ensuring optimal pump operation and longevity.
Seal Replacement Procedures
Prioritize safety by disconnecting power and relieving pressure before beginning. Carefully disassemble the pump, noting the seal orientation for correct reinstallation. Inspect the old seal for wear patterns – these indicate the failure cause and potential pump issues. Clean the seal housing thoroughly, removing any debris or corrosion that could damage the new seal.
Lubricate the new seal with a compatible fluid before installation. Ensure proper alignment with the shaft and housing; misalignment causes premature failure. Use appropriate tools to avoid damaging the seal during installation. Tighten fasteners to the manufacturer’s specifications, avoiding over-compression.
A leaking seal reduces pump efficiency and can cause motor damage. Regular seal replacement is crucial for maintaining pump performance and preventing costly repairs. Always use genuine Goulds replacement seals for optimal compatibility and reliability.
Bearing Replacement Guide
Safety first: disconnect power and isolate the pump before disassembly. Support the pump rotor during bearing removal to prevent damage. Utilize a bearing puller – forcing bearings off can harm the shaft; Inspect the shaft for wear or corrosion; address these issues before installing new bearings.
Clean the bearing housing meticulously, removing old grease and debris. Apply a generous amount of appropriate lubricant to the new bearings before installation. Ensure correct bearing orientation; some bearings are directional. Press the bearings onto the shaft using a bearing press, avoiding angled installation.
Worn bearings cause noise, vibration, and potential pump failure. Regular bearing replacement is a key preventative maintenance step. Verify proper shaft alignment after bearing installation for optimal pump operation and longevity. Use Goulds-recommended bearings for guaranteed compatibility.

Electrical Component Repair
Diagnose issues with motor windings, capacitors, switches, and relays for optimal pump function. Prioritize safety when testing and replacing electrical parts, following all guidelines.
Motor Winding Testing
Performing thorough motor winding tests is crucial for identifying internal electrical faults within the Goulds pump motor. Begin by visually inspecting the windings for any signs of physical damage, such as burnt insulation, cracks, or deformation. Utilize a multimeter to conduct resistance tests between each winding lead and ground, ensuring there is no continuity – indicating a short circuit.
Next, perform an insulation resistance test (megger test) to assess the integrity of the winding insulation. A low resistance reading signifies compromised insulation, necessitating winding repair or motor replacement. Compare resistance readings between all windings; significant discrepancies suggest a potential open circuit or shorted turn within the windings.
Carefully document all test results for accurate diagnosis and future reference. Remember to disconnect power and discharge capacitors before commencing any electrical testing procedures to prevent electrical shock. If any abnormalities are detected, consult a qualified electrician for further evaluation and repair.
Capacitor Replacement
Capacitors are vital components in Goulds pump motors, aiding in starting and running. A failing capacitor often manifests as difficulty starting, reduced motor speed, or overheating. Before replacement, always disconnect power and discharge the capacitor using a suitable resistor to avoid electrical shock – safety is paramount.

Carefully note the capacitor’s specifications – capacitance (measured in microfarads ⸺ µF) and voltage rating – before removal. Replace with a capacitor of identical specifications; using an incorrect value can damage the motor. Disconnect the wires from the old capacitor, noting their positions for correct re-connection.
Securely mount the new capacitor in its designated location and reconnect the wires precisely as they were before. Double-check all connections for tightness and proper insulation. After installation, test the pump to verify proper operation and ensure the new capacitor is functioning correctly.
Switch and Relay Troubleshooting
Faulty switches and relays can disrupt Goulds pump operation, causing intermittent functionality or complete failure. Begin troubleshooting by visually inspecting these components for signs of damage – burnt contacts, cracks, or corrosion. Use a multimeter to test for continuity across switch contacts when in the ‘on’ position and for open circuits when ‘off’.
Relays should be tested for proper coil resistance and contact operation. A lack of coil resistance indicates a burnt-out coil, while inconsistent contact operation suggests worn or damaged contacts. Always disconnect power before testing or replacing these components.
If a switch or relay is defective, replace it with an identical part. Ensure correct wiring during installation, referencing wiring diagrams if available. After replacement, test the pump to confirm proper operation and verify the new component is functioning as expected, restoring reliable pump control.

Specific Goulds Pump Model Manuals (Resources)
Locate dedicated manuals for Goulds 3700, 3175, 3410, and pulp pump series, offering detailed repair information and specifications for each unique model.
Goulds 3700 Series Repair Information
The Goulds 3700 series, adhering to API-610 8th Edition standards, requires meticulous repair procedures due to its complex design and critical applications. Comprehensive documentation is essential for technicians undertaking maintenance or overhaul. This series often features robust construction, demanding specialized tools for disassembly and reassembly.
Repair typically involves inspecting impeller condition, diffuser integrity, and seal functionality. Worn components must be replaced with genuine Goulds parts to maintain performance and reliability. Motor winding testing and capacitor checks are crucial for electrical system diagnostics. Detailed manuals outline specific torque specifications for bolting flanges and securing components, preventing leaks and ensuring proper alignment.
Pay close attention to lubrication points and bearing replacement procedures, as these directly impact pump longevity. Always consult the official Goulds 3700 series repair manual for the most accurate and up-to-date information, prioritizing safety throughout the entire process. Proper documentation of all repairs is highly recommended.
Goulds 3175 Series Repair Information
The Goulds 3175 series, a popular choice for various water applications, benefits from a systematic repair approach. Effective troubleshooting begins with a thorough inspection of the pump’s mechanical and electrical components. Common issues include impeller wear, seal failures, and motor-related problems.
Repair procedures often involve disassembling the pump to access internal parts. Carefully examine the impeller for erosion or damage, and replace if necessary. Seal replacement is critical to prevent leaks and maintain prime. Electrical checks should include testing the motor windings for shorts or opens, and verifying capacitor functionality.
Refer to the official Goulds 3175 series documentation for detailed instructions and parts diagrams. Proper alignment of components during reassembly is essential for smooth operation. Always prioritize safety when working with electrical systems and rotating machinery. Maintaining detailed records of all repairs will aid in future maintenance.
Goulds 3410 Series Repair Information
The Goulds 3410 series, known for its robust construction, requires specific repair techniques. Initial diagnostics should focus on identifying the root cause of the malfunction, whether mechanical or electrical. Common failure points include bearing wear, impeller damage, and issues with the pump’s power supply.
Disassembly procedures must follow the manufacturer’s guidelines to avoid damaging critical components. Inspect the impeller and diffuser for signs of corrosion or blockage. Bearing replacement often necessitates specialized tools for proper removal and installation. Electrical testing should verify the integrity of the motor windings and associated wiring.

Consult the Goulds 3410 series repair manuals for detailed parts lists and exploded views. Ensure proper lubrication during reassembly to minimize friction and wear. Always disconnect power before performing any electrical work. Documenting all repairs will streamline future maintenance efforts and improve pump reliability.
Goulds Pulp Pump Manuals
Goulds pulp pumps are engineered for handling abrasive materials, demanding specialized maintenance procedures. These manuals detail the unique challenges associated with pulp applications, including wear from solids and corrosive fluids. Regular inspection of the impeller, casing, and liners is crucial for identifying wear patterns.
Repair often involves replacing worn components with hardened materials to extend service life. Pay close attention to seal integrity, as pulp slurries can accelerate seal failure. Flushing systems are vital for preventing solids buildup and maintaining pump efficiency. Consult the specific manual for your Goulds pulp pump model for detailed instructions.
Proper alignment during reassembly is essential to minimize vibration and bearing stress. Lubrication guidelines must be strictly followed to prevent premature wear. Safety precautions are paramount when working with potentially hazardous pulp materials. Detailed diagrams and parts lists are included in the manuals.

Preventative Maintenance for Goulds Pumps
Implement regular inspections, adhere to strict lubrication schedules, and prepare pumps for winter conditions to maximize lifespan and prevent costly repairs.
Consistent upkeep ensures optimal performance and minimizes downtime, safeguarding your water pumping system’s reliability.
Regular Inspection Checklist
A consistent inspection routine is paramount for extending the life of your Goulds water pump and preventing unexpected failures. Begin by visually examining the pump for any signs of leakage – check around the seals, connections, and casing. Listen carefully during operation; unusual noises like grinding or squealing can indicate bearing issues or impeller damage.
Next, inspect the motor for overheating, paying attention to the temperature of the housing and electrical connections. Verify that all mounting bolts are tight and that the pump is securely anchored. Check the power supply, ensuring proper voltage and amperage. Regularly assess the condition of hoses and pipes connected to the pump, replacing any that show signs of wear or cracking.
Don’t overlook the electrical components, including capacitors and switches, for corrosion or damage. Document all inspection findings, noting any anomalies or required repairs. Following this checklist diligently will contribute significantly to the long-term reliability and efficiency of your Goulds pump system.
Lubrication Guidelines
Proper lubrication is critical for minimizing friction and wear within your Goulds water pump, ensuring smooth operation and extending component lifespan. Refer to your specific pump model’s manual for recommended lubricant types and frequencies – using the wrong lubricant can cause damage. Generally, bearings are the primary components requiring regular lubrication.
Grease application should be performed using a grease gun, carefully injecting lubricant into the designated grease fittings until fresh grease appears. Avoid over-lubrication, as this can lead to overheating and seal failure. Inspect seals after greasing to ensure they remain intact and are not compromised. For pumps operating in harsh environments, consider using a high-temperature, water-resistant grease.
Establish a lubrication schedule based on pump operating hours and load conditions. Keep detailed records of all lubrication activities, including the date, lubricant type, and quantity used. Consistent adherence to these guidelines will significantly enhance the performance and longevity of your Goulds pump.
Winterization Procedures
Protecting your Goulds pump from freezing temperatures is essential to prevent costly damage. Begin by completely draining the pump casing, suction line, and discharge line. Open all drain plugs and valves to ensure thorough removal of water. Compressed air can assist in expelling any remaining liquid, but use caution to avoid excessive pressure.
Remove any strainers or filters and clean them before storing them indoors. Inspect the pump for cracks or damage that could allow water to accumulate. Consider adding RV antifreeze to the pump casing for added protection, especially if complete draining is difficult. Disconnect electrical power to the pump and store the motor in a dry location.
Proper winterization prevents ice formation from cracking pump components and ensures reliable operation when spring arrives. Document all steps taken for easy reference during de-winterization. Regular inspection and preventative measures are key to a long pump life.