

Fanuc Alarm List Manual: A Comprehensive Guide
This manual details FANUC CNC alarm codes‚ covering DC/AC axis units‚ servo modules‚ power supplies‚ and robotics‚ aiding in efficient troubleshooting.
Fanuc alarms are critical indicators of issues within a CNC machine‚ providing essential diagnostic information for maintenance and repair personnel. These alarm codes‚ or faults‚ signal a problem requiring attention‚ ranging from minor inconveniences to severe system failures. Understanding these codes is paramount for minimizing downtime and maintaining production efficiency. A FANUC alarm isn’t merely an error message; it’s a structured communication from the control system‚ pinpointing the source of the problem.
Effective interpretation of Fanuc alarms requires a systematic approach‚ utilizing a comprehensive alarm list and understanding the specific machine configuration.
Understanding Fanuc Alarm Codes
Fanuc alarm codes are alphanumeric identifiers that pinpoint specific issues within the CNC control system. These codes aren’t random; they follow a logical structure‚ often indicating the affected component and the nature of the fault. Decoding these codes requires referencing a Fanuc alarm list‚ which provides detailed descriptions and potential causes.
Each code offers valuable clues for troubleshooting‚ guiding technicians towards the root of the problem. Recognizing the code’s format and understanding its components are key to efficient diagnosis and repair‚ minimizing downtime and maximizing productivity.
Types of Fanuc Alarms
Fanuc alarms are categorized based on the system area experiencing the fault. DC Axis and AC Axis alarms relate to motor drive issues‚ while AC Servo alarms pinpoint problems within the servo system itself. S Series and C Series servo alarms specify issues with those particular servo amplifier generations.
Furthermore‚ Power Supply Module alarms indicate faults in the power delivery system‚ and Robotics alarms are specific to robot controller issues. Understanding these categories narrows down the troubleshooting process‚ allowing for focused diagnostics.

DC Axis Unit Alarms
DC Axis alarms address faults within the DC motor drive system‚ often related to voltage‚ current‚ or encoder feedback issues during operation.
DC Axis Alarm Overview
DC Axis alarms signify problems specifically within the DC motor drive components of a Fanuc CNC system. These alarms frequently indicate issues related to the power supply delivering insufficient or unstable voltage to the DC axis. Troubleshooting often involves checking the DC link fuse for blown status‚ as indicated by Alarm 03.
Furthermore‚ these alarms can stem from faults within the DC servo amplifier itself‚ or problems with the motor windings. Proper diagnosis requires careful examination of voltage levels‚ current draw‚ and encoder feedback signals. Understanding the specific alarm code is crucial for pinpointing the root cause and implementing the correct repair procedure‚ ensuring minimal downtime and optimal machine performance.
Common DC Axis Alarms and Troubleshooting
Frequently encountered DC Axis alarms include issues with the DC link voltage being insufficient‚ often signaled by a blown fuse (Alarm 03). Another common issue is detecting abnormal RAM functionality (A1 alarm from the power supply module)‚ potentially impacting axis control. Troubleshooting begins with verifying power supply voltages and inspecting the DC link fuse for continuity;
Further steps involve checking motor windings for shorts or opens‚ and examining the DC servo amplifier for any visible damage. Analyzing encoder feedback signals is also vital. If problems persist‚ consult the Fanuc documentation for specific alarm code details and recommended corrective actions to restore proper DC axis operation.

AC Axis Unit Alarms
AC Axis alarms cover a range of faults‚ from motor overheating (Alarm 01) to issues with servo amplifiers and encoder feedback‚ requiring systematic diagnosis.
AC Axis Alarm Overview
AC axis alarms within Fanuc CNC systems signal malfunctions specifically related to the alternating current-driven axes of the machine. These alarms frequently indicate problems with the servo motors‚ amplifiers‚ encoders‚ or the communication pathways between these components. Understanding the nuances of these alarms is crucial for maintaining operational efficiency and minimizing downtime; Common causes include overheating‚ overcurrent conditions‚ issues with the braking systems‚ and faults within the amplifier circuitry itself.
Proper diagnosis often involves checking wiring connections‚ verifying power supply voltages‚ and inspecting the mechanical components for any signs of wear or damage. Utilizing a systematic approach‚ guided by the specific alarm code‚ is essential for pinpointing the root cause and implementing effective corrective actions.
Frequently Encountered AC Axis Alarms
Common AC axis alarms include issues like overcurrent (A2-0041)‚ often stemming from short circuits or overloaded motors. Another frequent alarm is related to servo gain settings (A2-0045)‚ indicating instability or insufficient performance. Encoder errors (A2-0030) suggest problems with position feedback‚ potentially caused by damaged encoders or wiring. Furthermore‚ alarms concerning the servo amplifier (like A2-0050) point to internal faults within the drive unit itself.
Troubleshooting these requires careful examination of the drive parameters‚ motor condition‚ and associated cabling. Corrective actions may involve adjusting gains‚ replacing faulty components‚ or addressing wiring issues.
AC Servo Unit Alarm Codes
AC servo alarms reveal drive issues; understanding their structure is key to diagnosis‚ with codes like SRVO-021 and SRVO-023 being prevalent.
AC Servo Alarm Code Structure
Fanuc AC servo alarm codes follow a consistent format‚ typically beginning with “SRVO-”‚ followed by a three-digit numerical identifier. This structure provides a systematic approach to understanding the nature of the fault. The initial “SRVO-” prefix clearly designates the alarm as originating from the servo system. The subsequent numerical code pinpoints the specific error condition within the servo drive or motor.
Decoding these codes requires referencing a Fanuc alarm list or manual‚ as each number corresponds to a distinct problem. Understanding this structure allows technicians to quickly categorize alarms and focus troubleshooting efforts on the relevant components or parameters. Proper interpretation is crucial for efficient repair and minimizing downtime in CNC machining operations.
Specific AC Servo Alarm Examples (SRVO-021‚ SRVO-023)
SRVO-021 indicates a “SRDY Off” alarm‚ signifying the servo amplifier isn’t ready‚ often due to a communication issue or power supply problem. Troubleshooting involves checking connections and power to the drive. SRVO-023 signals a general “SERVO Alarm‚” requiring a deeper investigation into the servo system’s functionality.
This could stem from motor faults‚ encoder issues‚ or parameter discrepancies. Examining the alarm history and associated parameters is vital. Corrective actions may include motor testing‚ encoder verification‚ or parameter adjustments. Always consult the Fanuc manual for detailed guidance on resolving these specific servo alarms.
S Series Servo Alarms
S Series alarms relate to specific servo characteristics‚ demanding focused troubleshooting of servo issues to restore optimal CNC machine performance quickly.
S Series Servo Alarm Characteristics
S Series servo alarms often indicate problems within the servo amplifier or the servo motor itself. These alarms frequently relate to issues with the servo gain settings‚ motor feedback signals‚ or the drive’s internal circuitry. Understanding the specific characteristics of these alarms is crucial for effective diagnosis. Common symptoms include erratic machine movements‚ inability to maintain position‚ or complete servo drive failure.
Troubleshooting typically involves checking the servo gain parameters‚ verifying the encoder feedback‚ and inspecting the motor and amplifier for physical damage. It’s essential to consult the FANUC documentation for detailed explanations of each alarm code and recommended corrective actions. Proper grounding and shielding are also vital to prevent noise interference that can trigger these alarms.
Troubleshooting S Series Servo Issues
Troubleshooting S Series servo issues begins with a thorough review of the specific alarm code and associated FANUC documentation. Verify proper wiring connections between the servo amplifier‚ motor‚ and controller‚ checking for loose connections or damaged cables. Inspect the servo motor for mechanical issues like bearing wear or winding shorts. Utilize the FANUC diagnostic tools to monitor servo gain‚ following signals‚ and error flags.
If the alarm persists‚ consider checking the power supply voltage to the servo amplifier and ensuring adequate cooling. Carefully examine the amplifier’s internal components for signs of damage. Remember to always prioritize safety and disconnect power before performing any internal inspections.

C Series Servo Alarms
C Series alarms indicate issues within the servo system‚ requiring detailed examination of error codes and related components for effective diagnosis and repair.
C Series Servo Alarm Details
C Series servo alarms often point to problems within the amplifier or the servo motor itself. These alarms necessitate a systematic approach to troubleshooting‚ beginning with a review of the specific error code displayed on the Fanuc control panel. Common issues include overcurrent faults‚ overvoltage conditions‚ and encoder feedback errors.
Careful inspection of wiring connections‚ servo motor brushes (if applicable)‚ and the amplifier’s internal components is crucial. Utilizing a multimeter to verify voltage levels and continuity can help pinpoint the source of the problem. Remember to always consult the official Fanuc documentation for detailed explanations of each alarm code and recommended corrective actions. Ignoring these alarms can lead to further damage and costly downtime.
Resolving Common C Series Servo Errors
Addressing C Series servo errors begins with accurately documenting the alarm code and associated conditions. For overcurrent alarms‚ check for short circuits in the motor cable or within the motor itself. Overvoltage issues often stem from power supply fluctuations or amplifier malfunctions‚ requiring voltage verification.
Encoder feedback errors demand inspection of the encoder cable and encoder mounting. Regularly‚ a simple cable replacement resolves intermittent issues. If the alarm persists‚ the servo amplifier may require professional repair or replacement. Always prioritize safety by disconnecting power before performing any maintenance‚ and refer to the Fanuc manuals for specific procedures.

Fanuc Alpha Servo Module Alarms
This section covers Fanuc Alpha servo amplifier alarms‚ including codes like A06B-6079-H and A06B-6096-H‚ for effective diagnostics.
Alpha Servo Module Alarm Identification
Identifying Alpha servo module alarms begins with recognizing the specific series of Fanuc Alpha servo amplifiers involved. These amplifiers utilize distinct alarm codes to pinpoint issues within the system. Common codes‚ such as A06B-6079-H‚ often indicate an internal fan malfunction‚ necessitating repair or replacement of the servo drive. Another frequent alarm‚ A06B-6096-H‚ signals a low control power voltage.
Understanding the context of the alarm – when it occurred‚ associated machine behavior – is crucial. Careful observation and documentation of these details will significantly streamline the troubleshooting process. Always refer to the Fanuc documentation for the precise meaning of each alarm code and recommended corrective actions.
Alpha Servo Drive Alarm Codes (A06B-6079-H‚ A06B-6096-H)
Alarm code A06B-6079-H typically signifies a critical issue: the internal cooling fan has stopped functioning. This necessitates immediate attention‚ as overheating can cause significant damage to the servo drive. Repair or complete replacement of the drive is usually required to resolve this. Conversely‚ A06B-6096-H indicates a low control power voltage‚ potentially stemming from a power supply problem or wiring fault.
Investigating the power supply and associated connections is vital when encountering this latter alarm. Thoroughly check voltage levels and wiring integrity. Proper diagnosis and correction of these alarm codes are essential for maintaining optimal servo drive performance and preventing further system failures.

Fanuc Power Supply Module Alarm Codes
Power supply alarms (A1‚ A2‚ E) indicate RAM faults‚ program errors‚ or abnormal input power‚ requiring immediate inspection and corrective actions.
Power Supply Module Alarm Interpretation
Interpreting Fanuc power supply module alarms is crucial for maintaining CNC system stability. Alarm A1 signifies a faulty RAM within the module‚ potentially leading to data corruption or system crashes‚ necessitating RAM replacement. Alarm A2 indicates an abnormal program operation‚ suggesting software glitches or incorrect parameter settings requiring program review and adjustment.
The ‘E’ alarm points to an abnormal input power supply‚ potentially caused by voltage fluctuations‚ power supply failure‚ or wiring issues; verifying power input is essential. Addressing these alarms promptly prevents further damage and ensures continued CNC operation. Proper diagnosis and repair‚ guided by the Fanuc documentation‚ are vital for restoring functionality.
Specific Power Supply Alarm Examples (A1‚ A2‚ E)
Alarm A1 signals a RAM failure within the power supply module‚ demanding immediate attention as it impacts data integrity and system reliability; replacement is typically required. Alarm A2 indicates a program isn’t functioning correctly‚ potentially due to corrupted files or incorrect parameters‚ necessitating program verification and potential reloading.
The ‘E’ alarm signifies an abnormal input power condition‚ often stemming from voltage instability or a failing power supply unit; checking input voltage and connections is paramount. These specific alarms highlight critical power supply issues‚ demanding swift diagnosis and corrective action to prevent CNC system downtime.

Common Fanuc Error Codes and Meanings
This section details frequent FANUC errors like SRVO-021‚ SRVO-023‚ INTP-311‚ and MOTN-017‚ providing concise meanings for quicker diagnostics and repair.
In Position Error (MOTN-017)
The MOTN-017 alarm signifies that the control system detects a discrepancy between the commanded position and the actual position of the axis. This commonly occurs when the servo is attempting to reach a target‚ but encounters resistance or an inability to achieve the desired location within the specified tolerance. Potential causes include mechanical issues like excessive friction‚ binding‚ or backlash in the drive system.
Furthermore‚ incorrect parameters‚ such as gain settings or following error limits‚ can contribute to this alarm. Thoroughly inspect the mechanical components for obstructions and verify the accuracy of the position feedback system. Adjusting servo gains or following error limits may also resolve the issue‚ but should be done cautiously and with proper understanding of the system’s dynamics.
Teach Pendant E-Stop (INTP-311)
The INTP-311 alarm indicates that the emergency stop button on the teach pendant has been activated. This is a safety feature designed to immediately halt all machine motion in case of an emergency. Resolving this alarm requires releasing the E-stop button on the teach pendant. However‚ simply releasing the button isn’t always sufficient; the reason for the initial E-stop activation must be investigated.
Check for any hazardous conditions or potential safety risks that prompted the E-stop engagement. Ensure all safety devices are functioning correctly before resuming operation. A repeated INTP-311 alarm suggests an underlying issue requiring attention to prevent accidental machine activation during troubleshooting or operation.
Motor Overheat Alarm (Alarm 01)
Alarm 01 signifies that the motor’s internal temperature has exceeded the pre-defined safety threshold. This condition can stem from several factors‚ including prolonged operation at high loads‚ inadequate cooling‚ or a malfunctioning motor cooling fan. Immediate action is crucial to prevent permanent motor damage. Allow the motor to cool down completely before attempting any troubleshooting steps.
Inspect the motor’s cooling fan for proper operation and ensure ventilation pathways are unobstructed. Verify the motor’s load is within specified limits. If the issue persists‚ a thorough motor inspection and potential repair or replacement may be necessary to restore functionality and prevent future occurrences.

Emergency Stop Related Alarms
These alarms indicate issues with the emergency stop circuit‚ potentially including blown fuses or faults‚ demanding immediate attention for safety and operational integrity.
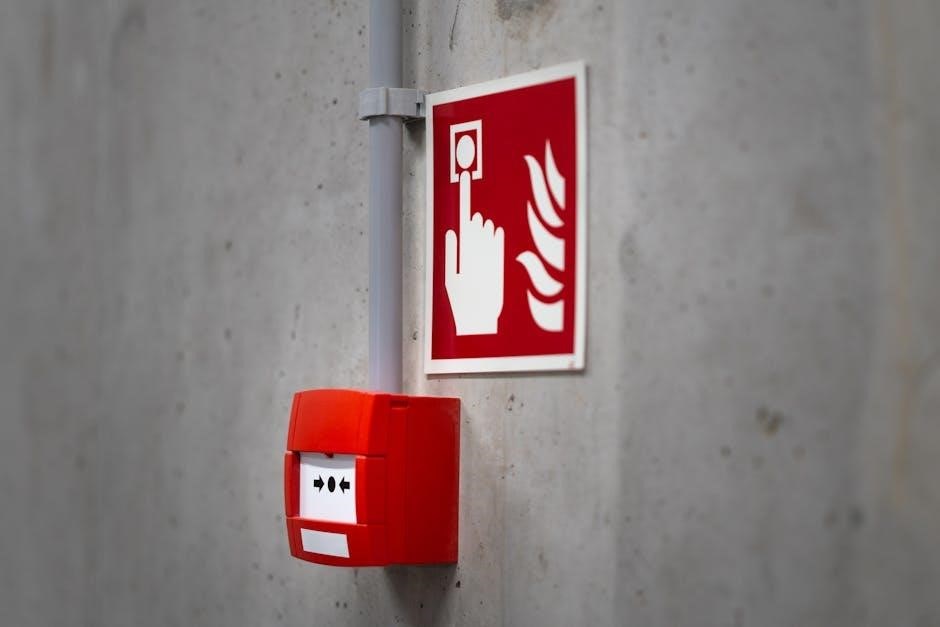
Fuse Blown (Alarm 03)
Alarm 03 signifies a blown fuse within the DC link circuit‚ indicating insufficient voltage. This critical fault necessitates immediate investigation and resolution to prevent further damage or operational downtime. The alarm confirms a voltage drop at the DC link‚ directly linked to the compromised fuse.
Troubleshooting involves visually inspecting the fuse for breakage and replacing it with a fuse of the correct amperage rating. Before replacement‚ identify the root cause of the fuse failure – potential causes include overcurrent due to motor issues‚ short circuits‚ or power supply problems. Always ensure proper safety procedures are followed when working with electrical components.
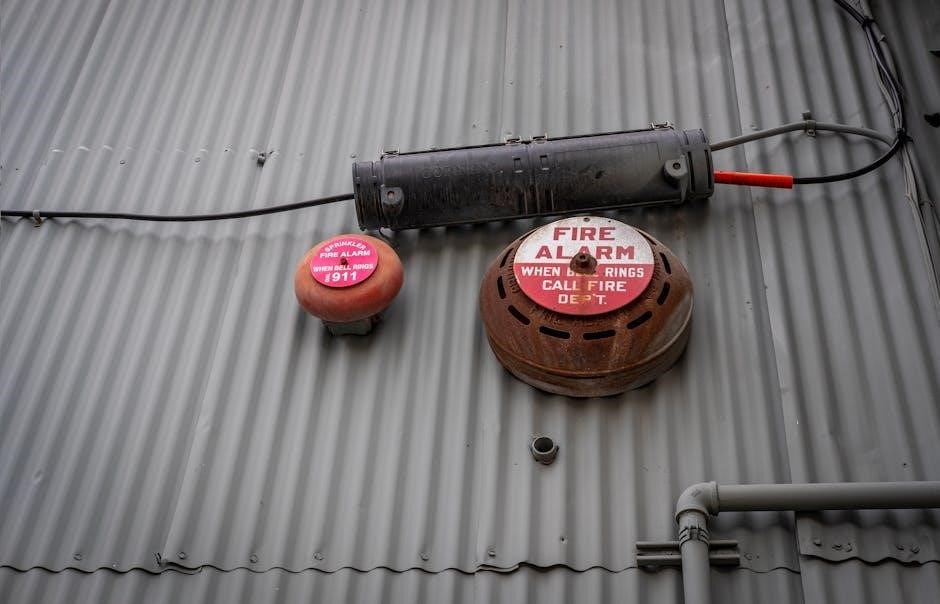
Emergency Stop Circuit Faults
Emergency Stop (E-Stop) circuit faults indicate issues within the safety system designed to immediately halt machine operation. These faults can stem from various sources‚ including wiring problems‚ faulty E-Stop buttons‚ or relay malfunctions. A compromised E-Stop circuit prevents safe and reliable machine shutdown‚ posing a significant safety risk.
Troubleshooting requires a systematic check of all E-Stop components – buttons‚ wiring‚ and relays – using a multimeter to verify continuity and proper function. Inspect for loose connections‚ damaged wires‚ or failed components. Correcting these faults is paramount for ensuring operator safety and maintaining machine integrity.
Robotics Alarm Codes (R-30iB Controller)
R-30iB series alarms require specific troubleshooting techniques due to the controller’s complexity; this section details common robotics error codes and solutions.
R-30iB Series Alarm Specifics
The R-30iB controller presents a unique set of alarm characteristics stemming from its advanced functionalities and integrated systems. Understanding these specifics is crucial for effective diagnostics and repair. These alarms often relate to motion control‚ communication errors‚ or issues within the robot’s internal logic. Common examples include alarms related to servo drives‚ interference‚ or collision detection. FANUC utilizes a hierarchical structure for these codes‚ providing detailed information about the fault’s origin and severity. Proper interpretation requires familiarity with the controller’s documentation and a systematic approach to troubleshooting‚ often involving checking wiring‚ parameters‚ and program logic. Ignoring these specifics can lead to prolonged downtime and inaccurate repairs.
Robotics Alarm Troubleshooting Techniques
Effective robotics alarm troubleshooting demands a methodical approach. Begin by accurately recording the alarm code and associated message. Next‚ consult the FANUC documentation for a detailed explanation of the error. Verify all related hardware – cabling‚ connectors‚ and servo drives – for physical damage or loose connections. Examine the robot’s program for logical errors or unexpected commands. Utilize the teach pendant to monitor robot status and position data. Parameter discrepancies can also trigger alarms‚ so compare current settings to known good configurations. Systematic investigation‚ combined with a solid understanding of the robot’s operation‚ is key to swift resolution.