

Amico Ceiling Fan Manual: A Comprehensive Guide
Amico offers diverse ceiling fan models, from 42 to 72 inches, with integrated lights and remote controls. This manual details installation, operation, and troubleshooting.
Model variations include KFM42PLY01R1 and KFM42PLY02R1, featuring 10-year motor warranties and ETL certification for quality assurance;
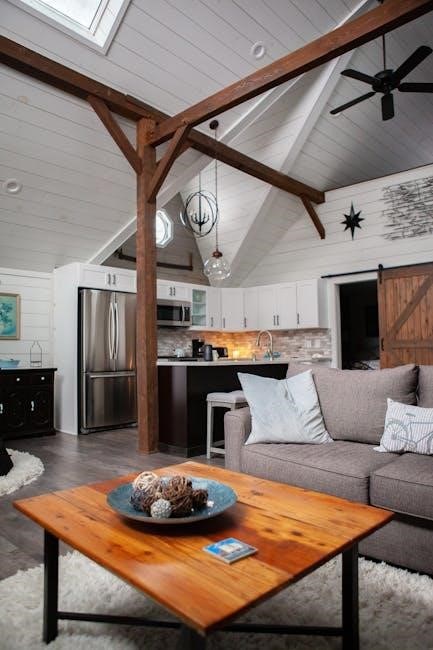
Amico Ceiling Fans represent a blend of style, functionality, and energy efficiency, designed to enhance the comfort of any living space. From sleek, low-profile designs to traditional styles, Amico caters to a wide range of aesthetic preferences. These fans aren’t merely cooling devices; they are integral components of interior design, offering both illumination and air circulation.
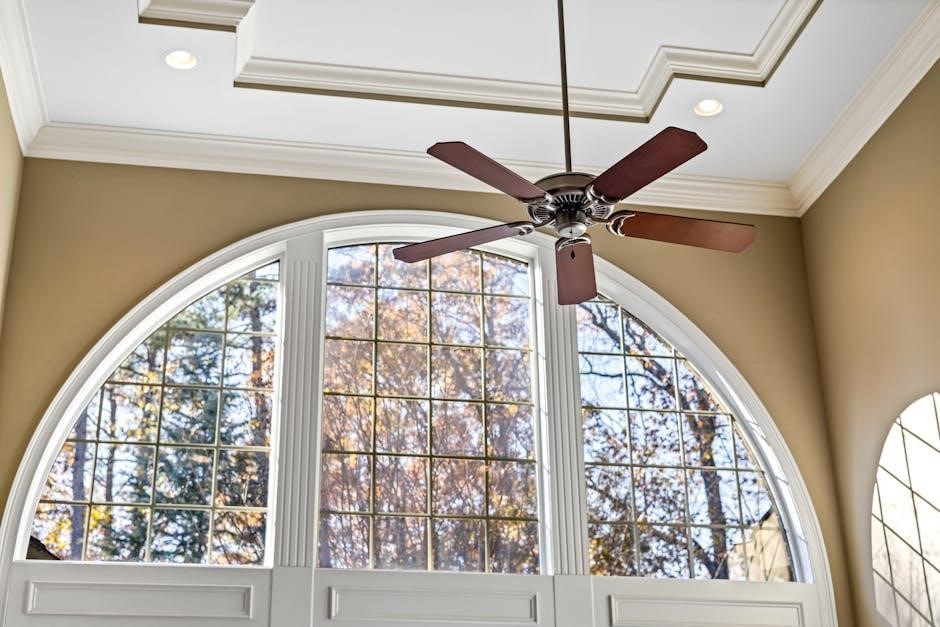
The Amico product line includes various sizes, notably 42-inch, 52-inch, 66-inch, and 72-inch models, ensuring a suitable option for rooms of all dimensions. Many models feature integrated LED light kits, providing adjustable brightness and color temperature (5CCT options are available). Remote controls offer convenient operation of fan speeds, light settings, and directional control.
This manual serves as a comprehensive guide to understanding, installing, operating, and maintaining your Amico Ceiling Fan. Whether you’ve purchased a low-profile model (like KFM42PLY01R1 or KFM42PLY02R1) or a larger variant, this resource will provide the necessary information for optimal performance and longevity. Amico prioritizes quality, backed by a 10-year motor warranty and certifications like ETL and FCC-ID, ensuring customer satisfaction.
Understanding Your Amico Fan Model
Your Amico Ceiling Fan’s specific features depend on the model number. Common models include KFM42PLY01R1 and KFM42PLY02R1, but variations exist. Key components include the motor housing, fan blades, light kit (if included), downrod, mounting bracket, and remote control receiver. Understanding these parts is crucial for installation and maintenance.
Amico fans often feature a reversible DC motor, allowing for year-round comfort – cooling in summer and distributing warm air in winter. Many models offer six speed settings for customized airflow. The integrated light kits frequently utilize LED technology, providing energy-efficient illumination with 5CCT (correlated color temperature) options for adjustable ambiance.
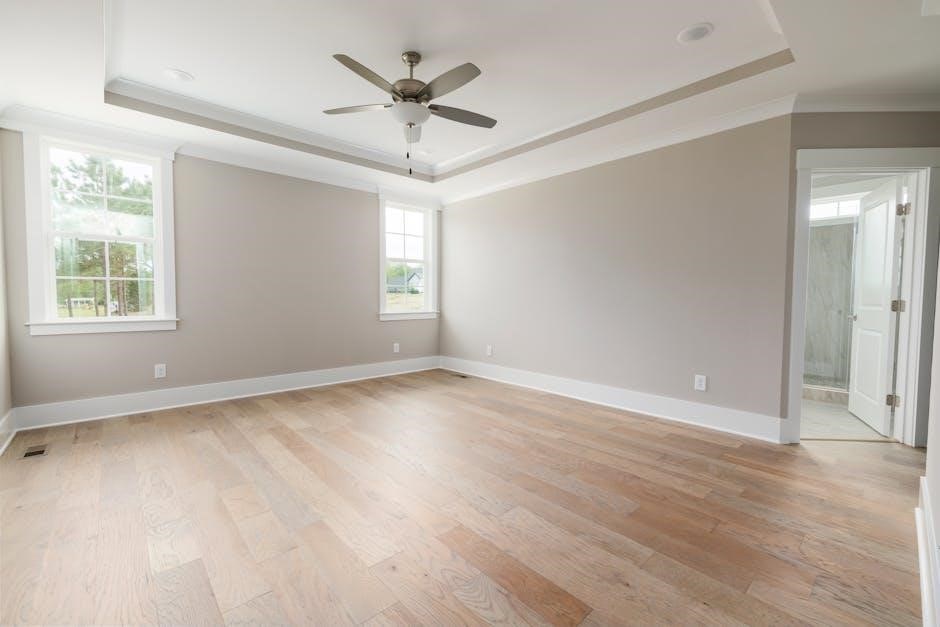
The flush mount installation type is common, particularly in low-ceiling applications. Check your fan’s specifications (dimensions, weight, power requirements) before beginning installation. The ASIN (B0D6GF8MC3 for some models) can help identify compatible accessories. Familiarize yourself with the remote control functions for seamless operation. Refer to the included parts checklist to ensure all components are present before proceeding.
Safety Precautions
Important Safety Instructions: Before installing or operating your Amico Ceiling Fan, carefully read all instructions and warnings. Electrical shock hazard exists – disconnect power at the circuit breaker or fuse box before any wiring connections. Ensure the ceiling junction box can support the fan’s weight; improper mounting can lead to falls.
Caution: Do not operate the fan if any parts are missing or damaged. Use only Amico-approved replacement parts. Keep children and pets away during installation and operation. Never insert objects into rotating blades. If the fan wobbles excessively, immediately stop use and investigate the cause.
Warning: Improper wiring can cause fire or electrical shock. If you are uncomfortable with electrical work, consult a qualified electrician. Do not use the fan in damp or wet locations unless specifically designed for such environments. Always follow local electrical codes during installation. The fan’s motor is warrantied for 10 years, but misuse voids the warranty.
Installation Guide
Proper installation is crucial for safe and efficient operation of your Amico Ceiling Fan. This guide covers unboxing, mounting, wiring, blade attachment, and light kit installation.
Unboxing and Parts Checklist
Carefully unpack your Amico Ceiling Fan and verify all components are present. The box should contain the motor housing, fan blades (typically 3-5), a mounting bracket, a downrod (length varies by model), a canopy, a light kit (if included), a remote control and receiver, and a bag of screws and hardware.
Crucially, check for any damage during shipping. If parts are missing or damaged, contact the retailer immediately. Refer to the included parts diagram in your manual to confirm you have everything needed before beginning installation. A typical checklist includes blade irons, a motor assembly, a canopy, screws, wire connectors, and the remote control unit.
Retain the packaging until you’ve successfully completed the installation. This allows for easier returns if necessary. Ensure you have the correct tools – screwdriver, wire strippers, and a ladder – readily available before proceeding.
Mounting the Fan
Begin by securely attaching the mounting bracket to the ceiling junction box, ensuring it’s rated to support the fan’s weight. Use screws appropriate for your ceiling type – wood, concrete, or metal. Important: If you’re unsure about your junction box’s capacity, consult a qualified electrician.
Next, assemble the downrod to the motor housing, carefully threading the wires through the downrod’s center. Slide the canopy onto the downrod. Lift the fan assembly and hang it on the mounting bracket using the provided hook. This allows for hands-free wiring.
Ensure the fan is securely seated on the bracket before releasing it. Double-check that all connections are stable and that the downrod is properly aligned. A flush mount installation may not require a downrod, depending on the Amico model.
Wiring the Fan
Before wiring, absolutely ensure the power is switched OFF at the circuit breaker. Identify the fan’s wires – typically black (hot), white (neutral), and green or bare copper (ground). Connect these to the corresponding wires in the ceiling junction box, using wire connectors.
If your fan includes a light kit, there will be additional wires – often blue (light hot). Connect these accordingly. Carefully tuck all wires into the junction box, avoiding any pinching or strain. Secure the wiring connections with electrical tape for added safety.
For fans with a remote receiver, the receiver unit is typically installed within the canopy. Follow the wiring diagram provided with the fan to connect the receiver correctly. Incorrect wiring can cause the fan to malfunction or create a safety hazard. Verify all connections before proceeding.
Attaching the Blades
Begin by aligning each blade with the blade brackets attached to the motor housing. Secure each blade using the provided screws, ensuring they are tightened firmly but not over-tightened to avoid damaging the blades or brackets. Consistent tightening is crucial for balanced operation.
Inspect each blade for any defects or damage before attachment. If any issues are found, do not install the blade and contact customer support. Ensure all blades are attached in the same orientation to maintain balance.
Some Amico models may include blade balancing kits. If your fan wobbles after installation, refer to the balancing kit instructions to correct the imbalance. Proper blade attachment is vital for quiet and efficient fan performance.
Installing the Light Kit
Before installing the light kit, ensure the power supply to the fan is completely switched off at the breaker box. Carefully remove the cover plate from the fan’s housing to access the wiring compartment. Connect the light kit wiring according to the wiring diagram provided – typically matching colors (black to black, white to white, and ground to ground).
Securely attach the light kit to the fan housing using the provided screws. Ensure the connections are firm and the light kit is flush against the fan body. Install the appropriate light bulbs, observing the maximum wattage specified on the fixture.
Finally, attach the light kit’s glass shade or cover, securing it with the provided hardware. Double-check all connections before restoring power to the fan. Amico light kits often feature LED options for energy efficiency.
Operating Your Amico Ceiling Fan

Amico fans offer six speed settings controlled via remote. Utilize the remote to adjust fan direction for seasonal comfort – cooling in summer, warmth distribution in winter.
Using the Remote Control
Your Amico ceiling fan includes a convenient remote control for effortless operation. Ensure the remote has fresh batteries installed for optimal performance. The remote allows you to control various fan functions without needing to physically access the fan itself.
Power Button: Turns the fan and light on or off. A single press activates both; subsequent presses cycle through off, fan only, and light only modes.
Speed Control: Dedicated buttons adjust the fan speed through six levels, from a gentle breeze to a powerful airflow. Experiment to find your preferred setting.
Light Control: Separate buttons manage the light kit’s brightness or color temperature (if applicable). Some models feature dimming capabilities for customized illumination.
Direction Control: A dedicated button reverses the fan’s direction – clockwise for cooling, counter-clockwise for distributing warm air. This feature enhances seasonal comfort.
Fan Speed Settings
Amico ceiling fans offer a comprehensive range of speed settings, providing customized airflow for any environment. The remote control, or wall control if equipped, allows precise adjustment through six distinct speed levels.
Speed 1: Gentle breeze – ideal for quiet operation and minimal air circulation, perfect for bedrooms or nurseries. This setting is energy-efficient and barely perceptible.
Speeds 2-3: Moderate airflow – suitable for general room cooling and comfortable everyday use. These settings balance comfort and energy consumption effectively.
Speeds 4-5: Strong airflow – designed for more significant cooling, ideal for warmer temperatures or larger spaces. These settings provide noticeable air movement.
Speed 6: Maximum airflow – delivers the most powerful cooling, best used when rapid temperature reduction is desired. This setting consumes the most energy.
Experiment with each speed to determine the optimal setting for your comfort and energy-saving preferences. Remember, lower speeds conserve energy while still providing adequate circulation.
Reversing the Fan Direction
Amico ceiling fans feature a convenient reverse function, optimizing comfort throughout the year. A small switch, typically located on the fan motor housing, controls the blade rotation direction. This allows for both cooling breezes in summer and efficient heat distribution in winter.
Summer Mode (Counter-Clockwise): Blades rotate counter-clockwise, creating a downward airflow. This direct breeze provides a cooling effect, making the room feel several degrees cooler. It’s ideal for maximizing comfort during warmer months.
Winter Mode (Clockwise): Blades rotate clockwise at a lower speed, gently pushing warm air accumulated near the ceiling downwards. This redistributes heat, reducing heating costs and creating a more consistent temperature throughout the room.
Reversing the fan direction is a simple yet effective way to enhance energy efficiency and year-round comfort. Experiment to find the setting that best suits your needs and climate.
Ensure the fan is turned off before changing the direction switch.
Light Control Functions
Amico ceiling fans with integrated light kits offer versatile control options, typically managed via the included remote control. These functions allow you to customize the lighting to suit your ambiance and needs.
On/Off Control: The remote features a dedicated button to easily turn the light kit on or off. This provides immediate control without needing to operate a wall switch.
Dimming Capabilities: Many Amico models include dimming functionality, allowing you to adjust the brightness of the light. This creates a softer, more relaxing atmosphere or provides brighter illumination for tasks.
5CCT Options: Some newer models boast 5CCT (Correlated Color Temperature) technology, enabling you to select from various white light tones – warm white, cool white, and daylight – to match your preference.
Night Light Feature: Certain downlights include a night light mode, offering a subtle glow for convenience and safety. Refer to your specific model’s instructions for detailed operation.

Troubleshooting Common Issues
Amico fan problems include no power, remote failures, wobbling, and light malfunctions. Check wiring, batteries, blade balance, and connections for solutions.
Fan Does Not Turn On
If your Amico ceiling fan fails to operate, several potential issues could be the cause. First, verify the power supply. Ensure the circuit breaker controlling the fan hasn’t tripped and that the wall switch is in the ‘on’ position. A simple reset of the breaker can often resolve the issue.
Next, carefully inspect the wiring connections within the fan’s canopy. Loose wire connections are a common culprit. Confirm all wires are securely fastened, matching the wiring diagram provided in the installation guide. If using a remote control, check the batteries and ensure they are correctly installed.
Furthermore, examine the pull chain switch (if equipped) for proper functionality. A faulty pull chain switch may prevent the fan from receiving power. If the problem persists, consult a qualified electrician to rule out any electrical issues within your home’s wiring. Remember to always disconnect power before inspecting any wiring.
Remote Control Not Working
When your Amico ceiling fan’s remote control becomes unresponsive, begin with the simplest solution: battery replacement. Ensure you’re using fresh batteries, correctly inserted with the proper polarity. If new batteries don’t resolve the issue, attempt to reset the remote by removing the batteries for several minutes, then reinserting them.
Next, verify the remote is paired with the fan receiver. Some models require a synchronization process, often involving turning the fan’s power off and on while pressing a specific button on the remote. Consult your fan’s specific model manual for pairing instructions.
Obstructions between the remote and the fan receiver can also interfere with the signal. Ensure there are no significant obstacles blocking the path. If problems continue, check for interference from other electronic devices. Finally, if none of these steps work, the remote or receiver unit may be defective and require replacement.
Fan Wobbles Excessively
Excessive wobbling in your Amico ceiling fan can be unsettling and potentially damaging. Begin by ensuring all blade screws are securely tightened. Even slightly loose screws can contribute to imbalance. Next, verify that each blade is properly attached and hasn’t become warped or damaged.
Utilize a balancing kit, often included with the fan or available separately. These kits contain weights that you strategically attach to the blades to counteract imbalance. Follow the kit’s instructions carefully, testing different weight placements until the wobble is minimized.
Confirm the mounting bracket is securely fastened to the ceiling joist. A loose bracket can exacerbate wobbling. If the issue persists, inspect the blades for variations in weight or shape; slight differences can cause imbalance. Consider professional assistance if you’re unable to resolve the wobble independently.
Light Kit Malfunctions
If the light kit on your Amico ceiling fan isn’t functioning, start by checking the light bulbs to ensure they are securely screwed in and haven’t burned out. Confirm the wall switch controlling the fan and light is turned on. Next, examine the wiring connections within the fan’s canopy – loose wires are a common cause of light kit failures.
If using a remote control, verify the batteries are fresh and the remote is properly paired with the fan. Test the light functions directly from the remote to isolate the issue. Inspect the light kit’s internal components for any visible damage, such as frayed wires or a faulty ballast (if applicable).
For LED light kits, ensure compatibility with the fan’s dimmer switch, if used. If problems persist, consult a qualified electrician to diagnose and repair the electrical components safely.

Maintenance and Care
Regularly clean fan blades and check/tighten screws to ensure safe operation. Minimal motor maintenance is needed, benefiting from a 10-year warranty.
Cleaning the Fan Blades
Regular cleaning of your Amico ceiling fan blades is crucial for maintaining optimal performance and preventing dust buildup, which can affect airflow and balance. Before beginning, always ensure the fan is switched off and the power is disconnected at the breaker to avoid accidental operation.
Use a soft, lint-free cloth dampened with a mild detergent solution. Avoid abrasive cleaners or harsh chemicals, as these can damage the blade finish. Gently wipe each blade, starting from the base and moving towards the tip. For stubborn dirt, allow the cleaning solution to sit for a few moments before wiping;
Important: Support the blade with one hand while wiping the other side to prevent stress on the blade bracket. After cleaning, thoroughly dry each blade with a clean, dry cloth. Inspect the blades for any signs of damage or wear during cleaning. Consistent cleaning will prolong the life and efficiency of your Amico fan.
Checking and Tightening Screws
Routine maintenance of your Amico ceiling fan includes regularly checking and tightening all screws to ensure stability and prevent potential hazards. Always disconnect the power supply at the breaker before performing any maintenance. Begin by inspecting the mounting bracket screws, ensuring they are securely fastened to the ceiling junction box.
Next, examine the screws connecting the blades to the blade holders, and the blade holders to the motor housing. Loose screws can cause wobbling or even blade detachment. Gently tighten any loose screws, but avoid over-tightening, which could strip the threads or damage the components.
Also, check the screws securing the light kit (if applicable) and the remote receiver housing. A periodic check – at least twice a year – will help maintain the safe and efficient operation of your Amico fan. Remember, a secure fan is a safe fan!
Motor Maintenance

Amico ceiling fans utilize high-quality motors designed for long-lasting performance. However, minimal maintenance can extend their lifespan. Crucially, avoid any attempt to disassemble the motor itself; this will void the warranty. The motor is sealed and does not require lubrication.
Regularly monitor the motor for unusual noises, such as grinding or squealing, which could indicate a potential issue. If you notice any abnormal sounds, immediately discontinue use and consult a qualified electrician. Dust accumulation around the motor vents can cause overheating, so periodic cleaning with a soft, dry cloth is recommended.
Amico offers a 10-year warranty on the motor, demonstrating their commitment to quality. Proper care, including keeping the fan clean and avoiding overloading the electrical circuit, will contribute to optimal motor function and longevity. Remember to always disconnect power before cleaning.
Technical Specifications
Amico fans range from 42-72 inches, weighing up to 8.71 pounds. Power requirements vary; models like KFM42PLY01R1 have 6 speed levels and flush mounts.
Model Numbers and Variations
Amico offers a diverse range of ceiling fan models, each designated by a unique model number for easy identification and parts ordering. Common models include the KFM42PLY01R1, a 42-inch low profile fan with light and remote, and the KFM42PLY02R1, another 42-inch variant with similar features. These numbers are crucial when seeking specific documentation or replacement components.
Variations exist within these models, often relating to finish options, blade styles, or included accessories. Application numbers, such as 73662805, and JAN codes further differentiate specific product configurations. The 66-inch and 72-inch models with lights also have distinct identifiers. Understanding these numbers ensures compatibility when purchasing accessories or seeking support. The FCC-ID and DOE certifications are also linked to specific model variations, confirming adherence to safety and efficiency standards.
Always refer to the model number located on the fan’s motor housing or original packaging when contacting customer support or ordering parts. This guarantees you receive the correct information and components for your specific Amico ceiling fan.
Dimensions and Weight
Amico ceiling fans are available in a variety of sizes to suit different room dimensions. The most common size is 42 inches (106.7 cm) in diameter, ideal for smaller rooms. Larger rooms benefit from 66-inch or 72-inch models, providing greater air circulation. The height, or flush mount dimension, is a critical consideration for rooms with lower ceilings, ensuring adequate headroom.
Weight varies depending on the model and features. A typical 42-inch Amico fan weighs approximately 8.71 pounds (3.95 kg). Larger models with integrated light kits will naturally be heavier, requiring appropriate ceiling support. Always verify your ceiling’s load-bearing capacity before installation.
Precise dimensions, including blade length, motor housing size, and downrod length (if applicable), are detailed in the individual model’s specification sheet. Accurate measurements are essential for proper installation and aesthetic integration within your space.
Power Requirements
Amico ceiling fans are designed to operate on standard household electrical systems. Most models require 120V AC power. Before installation, always verify that your home’s electrical supply meets these requirements. Incorrect voltage can damage the fan motor and create a safety hazard.
The fan’s power consumption varies based on speed setting and whether the light kit is activated. Typically, a 42-inch model consumes between 30-60 watts at higher speeds. LED light kits generally use significantly less power than incandescent bulbs, contributing to energy efficiency.
Ensure the circuit breaker dedicated to the fan is appropriately sized to handle the fan’s maximum power draw. Consult a qualified electrician if you are unsure about your home’s electrical capacity or if you need to install a dedicated circuit.
Warranty Information
Amico stands behind the quality of its ceiling fans with a comprehensive warranty program. The motor is typically covered by a 10-year warranty against defects in materials and workmanship, providing long-term peace of mind. This warranty covers motor replacement or repair, at Amico’s discretion.
Other components, such as the fan blades, light kits, and remote controls, are generally covered by a 2-year warranty. This covers defects in materials and manufacturing. Warranty coverage requires proof of purchase, including the original sales receipt or invoice.
The warranty does not cover damage resulting from improper installation, misuse, accidents, or unauthorized repairs. For warranty claims, contact Amico’s customer support with your model number and a detailed description of the issue.